

Dental Instrument Reprocessing Guide for Practices
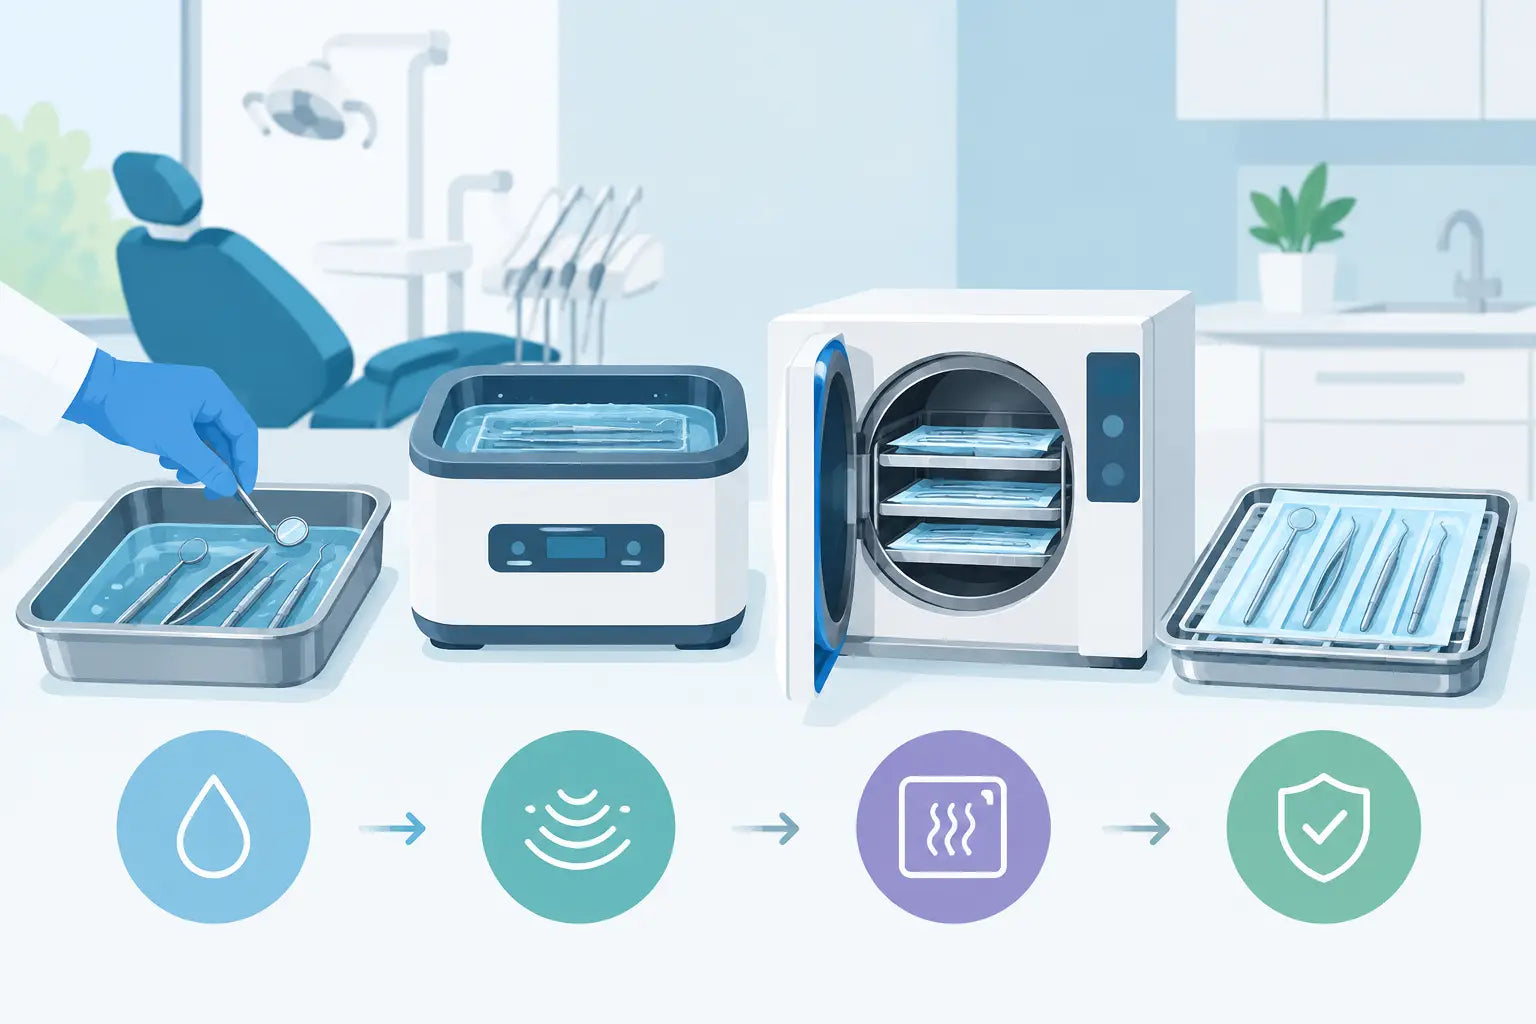
A tray that looks clean is not necessarily ready for the next patient. Between procedures, instruments can carry blood, saliva, tissue debris, and bioburden into the sterilization area. A dependable dental instrument reprocessing guide gives every team member the same standard to follow - even during a full schedule, a staff change, or an unexpected equipment issue.
Reprocessing is not a single sterilizer cycle. It is a controlled chain of handling, cleaning, inspection, packaging, sterilization, monitoring, storage, and documentation. When one link is rushed or skipped, a practice can compromise patient safety, damage costly instruments, and create avoidable compliance exposure.
Build the Workflow Around the Instrument’s Journey
The most effective reprocessing areas move in one direction: from contaminated receiving to cleaning, then preparation and packaging, sterilization, and finally clean storage. Physical layout matters because it reduces the chance that clean instruments will cross paths with contaminated items.
Start by assigning clear zones. The receiving and cleaning side should hold contaminated cassettes, transport containers, ultrasonic cleaners, instrument washers, and appropriate personal protective equipment. The clean side should be reserved for drying, inspection, packaging, pouch sealing, sterilizer loading, and storage. If space is limited, separation can be created through timing, labeled work surfaces, barriers, and disciplined workflow.
Every practice should use written procedures that match its actual equipment, staffing model, and patient volume. A large DSO with centralized processing will operate differently from a two-operatory office or a mobile dental program. The non-negotiable principle is consistency: staff should know exactly where instruments go, who handles each stage, and what to do when a process falls outside normal parameters.
Point-of-Use Handling Protects Instruments and Staff
Reprocessing begins chairside. After treatment, remove disposable items and place reusable instruments in a puncture-resistant cassette or covered transport container as soon as practical. Keeping instruments moist with an approved pre-cleaning product or damp towel can prevent debris from drying onto surfaces, making later cleaning more effective and less labor-intensive.
Do not carry loose contaminated instruments through hallways or leave them exposed on countertops. Sharp items require particular care. Needles, scalpel blades, and other single-use sharps belong in approved sharps containers, not in the instrument stream.
At the receiving area, team members should wear the PPE appropriate for exposure risk. That commonly includes heavy-duty utility gloves, protective eyewear or face protection, masks, and protective clothing. Utility gloves should be inspected routinely and replaced when damaged. Thin examination gloves are not a substitute for gloves designed to protect against instrument punctures and cleaning chemicals.
Cleaning Comes Before Sterilization
Sterilization cannot reliably overcome visible soil or retained debris. Cleaning is the step that removes contamination so the sterilant can contact every instrument surface. For most practices, automated cleaning with an ultrasonic cleaner or instrument washer is safer and more consistent than hand scrubbing.
Ultrasonic cleaning is well suited to many hinged instruments, hand instruments, and endodontic instruments when used according to the equipment and instrument manufacturers' instructions for use. Use the correct solution concentration, cycle time, water quality, and basket or cassette configuration. Change solutions at the frequency specified by the manufacturer and whenever visibly contaminated.
Instrument washers can improve standardization and reduce hands-on exposure, especially in high-volume practices. Their value depends on proper loading. Overcrowded trays, nested instruments, and blocked spray arms can leave debris behind. Open hinged instruments, separate components when indicated, and avoid stacking items so tightly that water and detergent cannot reach all surfaces.
Manual cleaning may be necessary for delicate items or products not compatible with automated methods, but it should be the exception rather than the routine. Use a long-handled brush under water or in a manner that minimizes splashing and aerosolization. Follow the instrument manufacturer’s instructions closely, particularly for powered devices, optics, handpieces, and instruments with lumens.
After cleaning, rinse and dry instruments thoroughly. Moisture can interfere with packaging, contribute to corrosion, and leave water spots that make inspection more difficult.
Inspect Before You Package
Cleaning is also the best time to protect your equipment investment. Under good task lighting and, when appropriate, magnification, inspect instruments for visible debris, corrosion, cracks, misalignment, dull cutting edges, damaged insulation, and poor hinge action. Test ratchets and joints. Remove damaged instruments from service before they become a clinical or safety problem.
For rotary instruments and endodontic files, follow the manufacturer’s guidance on cleaning, reuse limits, inspection criteria, and disposal. A file that has been distorted, unwound, or used beyond its indicated lifecycle is not a value-saving reuse decision. It is a predictable risk.
Package and Load for Sterilization Success
Once instruments are dry and inspected, package them in FDA-cleared sterilization pouches, wraps, or cassette systems compatible with the chosen sterilizer. The packaging method should permit sterilant contact, maintain sterility after processing, and allow aseptic presentation at chairside.
Avoid overfilling pouches and cassettes. Include internal chemical indicators when the packaging system or procedure requires them, and check external indicators before use. Label packages according to your practice policy, typically with the sterilization date, load identifier, and, where applicable, the sterilizer identification. That information supports traceability if a monitoring result or equipment failure requires follow-up.
Load the sterilizer according to its instructions for use. Steam, chemical vapor, and dry heat systems have different cycle requirements, loading patterns, packaging compatibility, and maintenance needs. The right cycle is not simply the fastest available setting. It must match the device, the load type, the packaging, and the manufacturer’s validated instructions.
Dental handpieces, attachments, and other mechanical instruments deserve special attention. Clean, lubricate, package, and heat sterilize them between patients according to the manufacturer’s instructions. Wiping an exterior surface is not an acceptable replacement for validated reprocessing.
Monitor Every Cycle, Not Just the Machine Display
A cycle display, printout, or digital record confirms that the sterilizer ran through selected parameters. It does not independently prove that conditions inside every package achieved sterilization. Monitoring should combine several layers of verification.
Use mechanical monitoring for time, temperature, and pressure records; chemical indicators for each package or load as appropriate; and biological monitoring through spore testing on the schedule recommended by current guidance and applicable regulations. Many practices perform biological monitoring at least weekly, while implant loads require additional procedures, including use of a biological indicator and quarantine of items when indicated by current recommendations.
Keep monitoring records organized and easy to retrieve. Documentation should include the date, sterilizer, load or cycle identification, results, staff initials, corrective actions, and service records. Digital tracking can simplify this work, but a paper log can also be effective if it is complete and reviewed consistently.
When a chemical or biological indicator fails, do not treat it as a paperwork inconvenience. Remove the sterilizer from service as appropriate, review loading and operating procedures, retest according to the manufacturer’s instructions and your protocol, and document the corrective action. If there is any question about previously processed loads, follow current CDC guidance, state requirements, and the advice of your equipment manufacturer or qualified service provider.
Store Sterile Packs So They Stay Sterile
Sterile packages can be compromised after they leave the sterilizer. Store them in clean, dry, enclosed cabinets or drawers away from sinks, aerosols, dust, and excessive handling. Do not use packages that are wet, torn, punctured, unsealed, or otherwise damaged. Reprocess them.
Many offices use event-related shelf life, meaning a package remains sterile until an event compromises the barrier. That approach depends on proper packaging, storage, handling, and practice policy. If local regulations or your facility policy require date-related expiration, follow the more stringent requirement.
Before opening a package at chairside, inspect the seal and indicator. Open it aseptically and present instruments without contaminating the contents. Small habits at this last step protect all the work completed upstream.
Make Reprocessing Easy to Repeat
Training should be practical, documented, and repeated. New team members need hands-on instruction, not just a policy binder. Experienced staff benefit from refreshers when new instruments, handpieces, sterilizers, pouches, ultrasonic units, or workflow changes are introduced.
A useful daily quality check can cover these distinct areas:
- PPE availability and separation of dirty and clean work areas
- Ultrasonic cleaner or washer solution, function, and loading practices
- Sterilizer water level, maintenance status, and cycle records
- Chemical indicator review and package integrity
- Instrument inspection, repair, replacement, and inventory needs
For advanced equipment and specialty instruments, always defer to the manufacturer’s current instructions for use. A surgical kit, dental microscope accessory, implant instrument, endodontic motor component, or portable-care device may require methods that differ from standard hand instruments. The right process is the validated process for that specific product.
A well-run sterilization area is quiet proof of a practice’s standards. Give it the right equipment, clear procedures, protected time, and trained people, and every operatory starts the day ready to deliver care with confidence.