

Curing Light Comparison for Better Restorations
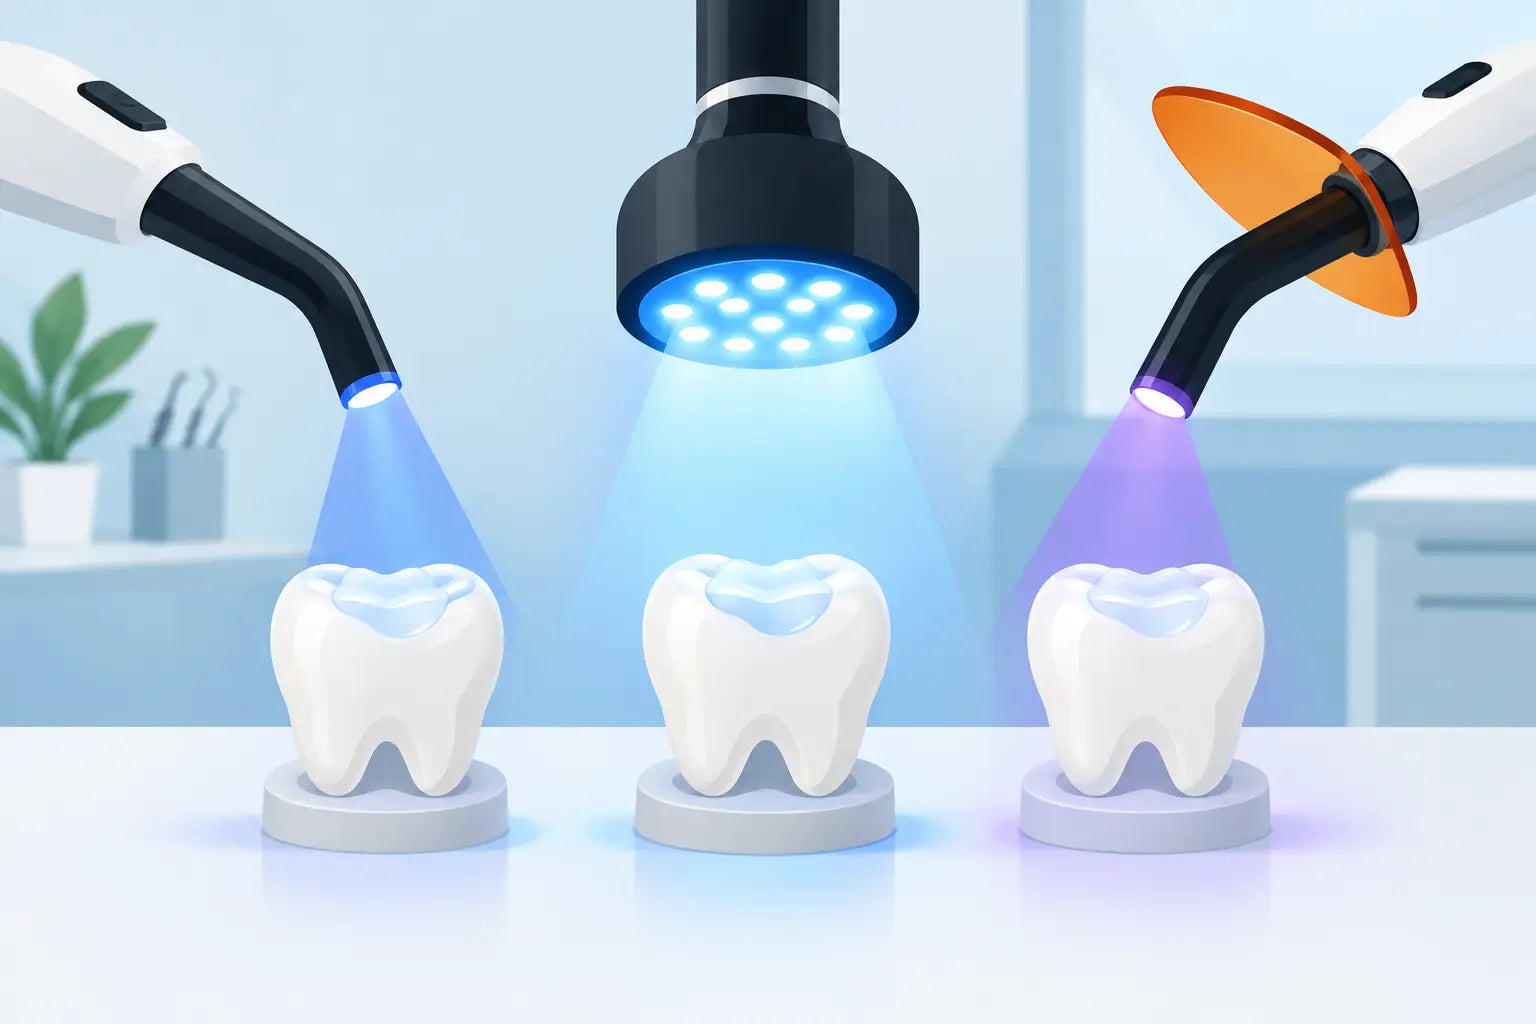
A curing light comparison should start with the restoration in front of you, not the largest irradiance number on a product page. A Class II composite in a deep proximal box, an anterior restoration requiring precise shade control, and a bulk-fill posterior case place different demands on the light, the material, and the clinician’s technique. The right unit supports predictable polymerization without adding friction to an already busy restorative workflow.
For practice owners and procurement teams, curing lights can appear interchangeable until repeat sensitivity, marginal staining, chipped restorations, or inconsistent material performance expose the cost of an incomplete cure. Comparing units by clinical output, spectrum, beam profile, usability, and support makes the purchasing decision clearer.
What a Curing Light Must Deliver
The purpose of a dental curing light is straightforward: deliver enough energy, at the appropriate wavelengths, to activate the photoinitiators in the restorative material. In practice, that outcome depends on more than advertised power.
Irradiance is commonly listed in mW/cm² and describes power density at the tip under stated test conditions. It matters, but it is only one part of the equation. Radiant exposure - irradiance multiplied by exposure time - is the energy delivered to the material surface. A light producing 1,000 mW/cm² for 20 seconds delivers a different dose than a light producing 2,000 mW/cm² for three seconds. Neither figure alone confirms that a specific composite, shade, increment depth, and clinical position have received an adequate cure.
This distinction matters because curing becomes less efficient as the tip moves away from the restoration, is angled away from the surface, or is partially blocked by a matrix band, cusp, or adjacent tooth. A high-output setting can be useful, but it does not eliminate the need for correct placement and a manufacturer-supported exposure protocol.
Curing Light Comparison: The Specifications That Matter
A productive comparison evaluates the light as a complete clinical system. The following factors have a direct effect on restoration quality and day-to-day efficiency.
Output and exposure modes
Look at the stated irradiance, but ask how it is measured and whether the output is maintained across the curing tip. A credible unit should provide clear specifications for standard, high-power, and soft-start modes, along with recommended curing intervals.
High-power modes can shorten exposure times for compatible materials, which is attractive in high-volume practices. The trade-off is that very short cycles leave less room for positioning error. They can also generate more heat at the restoration surface and pulpward side of a thin preparation. For many everyday composite cases, a dependable standard mode with a practical 10- to 20-second cycle offers better control than chasing the shortest possible cure.
Soft-start or ramp modes may help reduce early polymerization stress in selected restorations. They are not a substitute for sound layering, material selection, or adhesive technique, but they can be a useful option when a clinician prefers a more controlled start to the curing cycle.
Wavelength range and photoinitiator compatibility
Many traditional composites use camphorquinone, which is activated primarily in the blue region around 470 nm. However, some contemporary composites, adhesives, resin cements, and esthetic materials include alternative photoinitiators that respond to violet wavelengths closer to 400 nm.
A single-peak blue LED light may perform very well with camphorquinone-based materials. A multiwave or polywave light is designed to cover a broader wavelength range and may be the more versatile choice for practices using a varied material portfolio. This is particularly relevant when the team places highly esthetic composites, bleach shades, indirect restorative materials, or products with photoinitiator systems that differ by manufacturer.
Broader spectrum is not automatically better for every practice. If your restorative system is consistent and its curing requirements are well established, a quality single-peak unit can be an efficient, value-conscious choice. The key is matching the light to the materials your clinicians actually use, rather than purchasing based on a general claim of universal compatibility.
Beam profile and tip design
A curing tip should provide uniform energy across its full diameter. An uneven beam can leave the edges of a wide restoration under-cured even when the center receives adequate exposure. This is easy to overlook with larger tips, where the illuminated area appears complete but output may vary across the beam.
Consider tip diameter alongside your common procedures. A broad tip can cover many posterior restorations efficiently. A smaller or more focused tip can improve access around crowded teeth, in pediatric cases, or when curing a localized area. Some systems offer interchangeable tips, giving multi-provider practices more flexibility without requiring multiple complete units.
The tip should also be easy to position close to the restoration. A low-profile head and a neck that reaches posterior teeth without forcing an awkward wrist angle can have more practical value than a small increase in advertised power.
Ergonomics, controls, and infection control
A curing light is used repeatedly throughout the day. Weight, balance, button placement, and visibility of the timer affect fatigue and consistency. A unit that is comfortable for a single anterior restoration may feel very different after a full restorative schedule.
Assess whether the controls can be operated easily with gloved hands, whether the display is readable under operatory lighting, and whether common exposure settings can be selected without stepping through unnecessary modes. Simple operation helps standardize technique across associates, hygienists, and assistants.
Infection-control workflow deserves equal attention. Protective sleeves should fit without blocking the tip or interfering with the light guide. The housing should tolerate routine disinfection according to the manufacturer’s instructions, and the light guide should be easy to inspect for composite residue, scratches, or damage. A contaminated or damaged guide can reduce delivered energy and create avoidable variability.
Battery, charging, and uptime
Cordless lights keep the operatory clear and make it easier to move between rooms, but battery performance needs to support the practice’s pace. Compare expected cycles per charge, charging time, battery replacement options, and whether the unit can be used while charging.
For a larger group practice, a charging base in each operatory or an additional light for high-volume rooms may be a smarter investment than relying on one shared device. For mobile dentistry, compact charging, durable construction, and dependable battery status indicators become especially important. The best specification is the one that prevents a delayed procedure when the schedule is full.
Compare Lights Against Your Actual Materials and Workflow
Before buying, review the instructions for use for the composites, bonding agents, resin cements, and sealants used most often in your practice. Confirm the required wavelength range, recommended exposure times, increment limits, and whether the material manufacturer specifies a minimum irradiance.
Then consider how the light will be used. A general practice placing a broad range of composites may prioritize multiwave compatibility, a wide uniform tip, and an intuitive standard mode. An esthetic practice may value spectrum coverage and controlled curing options. A high-volume restorative or DSO environment may put added weight on battery uptime, repeatable settings, easy disinfection, and replacement support.
Do not overlook the clinical technique variables that no curing light can correct. Keep the tip clean, position it as close and perpendicular to the material as access allows, cure each increment as directed, and extend exposure when access, depth, shade, or distance makes the case less favorable. When curing through ceramic or other indirect materials, follow the restorative material and cement manufacturer’s instructions rather than assuming a standard direct-composite time will translate.
Why Radiometers Help, but Do Not Tell the Full Story
An in-office radiometer can be useful for routine quality checks. It can identify a sudden drop in relative output caused by a degraded battery, damaged light guide, contaminated tip, or failing LED. It is a practical way to keep equipment performance on the team’s radar.
Still, radiometer readings should not be treated as an absolute measure of clinical curing power. Different meters may report different values, and many do not fully characterize wavelength distribution, beam uniformity, or output across the tip. Use a radiometer to monitor trends and investigate changes, not as the only basis for confirming compatibility or setting exposure times.
A sound maintenance protocol includes regular cleaning, visual inspection of the light guide, proper sleeve use, battery care, and documentation of performance checks. This protects the investment and supports a more consistent restorative process across operators.
Value Is More Than the Purchase Price
The lowest-cost curing light is not always the best value, and the highest-priced unit is not automatically the best clinical fit. Evaluate the total ownership picture: verified specifications, material compatibility, warranty coverage, available service, replacement components, battery options, and the supplier’s ability to answer product questions after delivery.
FDA-cleared equipment and transparent product documentation provide added confidence when purchasing for professional use. A dependable supplier should make it easier to understand what is included, what the light is designed to cure, and where to turn if the unit needs support. At ProElite Dental Supply, the goal is practical technology selection: professional-grade equipment that supports clinical performance without forcing a practice into legacy-brand pricing.
The best curing light is the one your team can position correctly, use consistently, maintain easily, and trust across the restorative materials that keep your schedule moving. Choose for that reality, and every curing cycle becomes a small but meaningful advantage for the restoration, the clinician, and the patient.