

Dental Digital Sensor Comparison for Practices
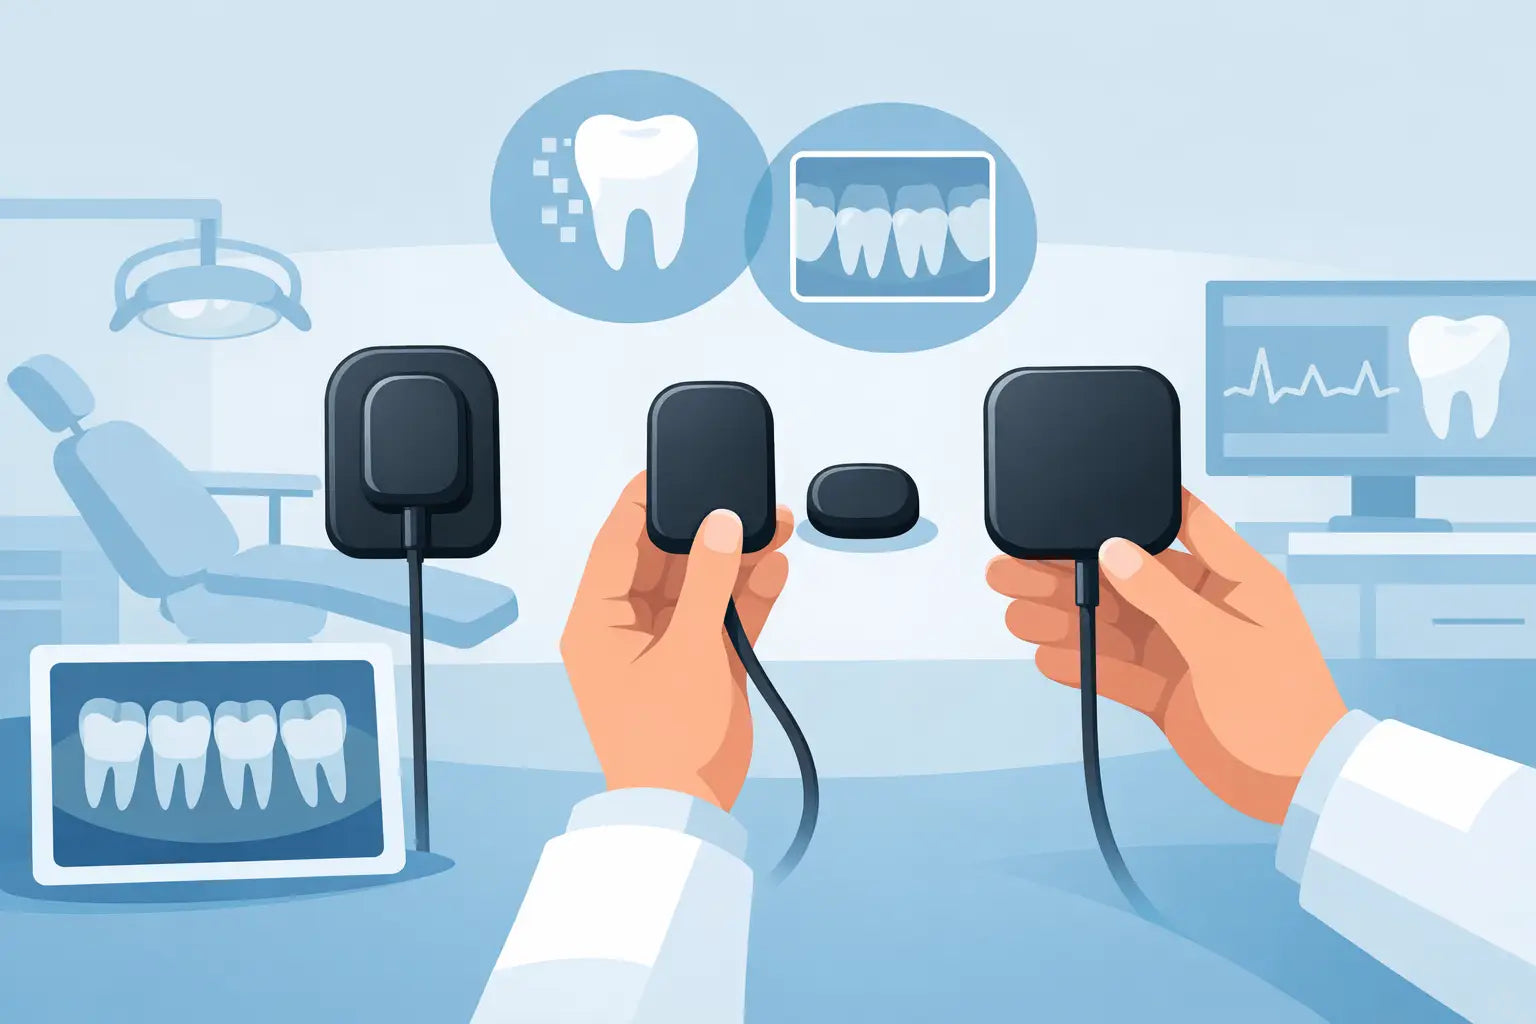
A digital sensor purchase can affect nearly every restorative, endodontic, hygiene, and emergency appointment on the schedule. A useful dental digital sensor comparison is not about choosing the highest stated resolution. It is about selecting a sensor system that produces dependable diagnostic images, feels manageable for patients, fits your operatory workflow, and remains practical to support after installation.
For a single-location practice, a sensor may be the most frequently used piece of imaging technology in the office. For a DSO, school, or mobile-care program, standardization and replacement planning carry even more weight. The right choice depends on your clinical mix, operator habits, software environment, and the true cost of keeping the system in service.
Dental Digital Sensor Comparison: Start With Clinical Needs
Begin with the procedures your team performs every day. General practices need consistent imaging across bitewings, periapicals, and occasional endodontic or implant evaluations. Endodontic offices may place greater value on fine detail, predictable positioning, and a sensor that withstands frequent use. Pediatric practices often prioritize smaller sensor sizes and patient comfort. A mobile dentistry program may need a sensor system that can travel safely and connect reliably outside a traditional operatory.
Do not buy based on a single image sample. High-contrast promotional images can look impressive, but they do not show how the sensor performs across varied anatomy, exposure techniques, restorative materials, and operator experience. Ask to see representative images for the procedures that matter in your practice.
A practical evaluation considers three questions: Can the clinician identify the anatomy needed for confident diagnosis? Can the assistant position the sensor efficiently? Can the practice repeat that result consistently across rooms and providers? If the answer to any of these is no, the lowest purchase price is unlikely to remain the lowest cost.
Image Quality Is More Than Resolution
Resolution is usually listed in line pairs per millimeter, but it should not be treated as the only image-quality specification. A sensor's useful diagnostic performance also depends on contrast, dynamic range, noise control, exposure tolerance, and image-processing software.
A high-resolution sensor can reveal fine structures, yet a narrow exposure latitude may make technique errors more noticeable. A sensor with strong dynamic range can be more forgiving when different team members use slightly different exposure settings. For busy practices, that consistency can reduce retakes and keep patients moving through the schedule.
Evaluate image quality in the context of your X-ray source as well. Exposure settings that work well with one sensor may not be ideal for another. Practices upgrading from film or phosphor plates should plan time to establish new exposure protocols rather than simply relying on old settings. This is especially relevant when using portable X-ray units, where positioning and technique can vary more between operators.
Image-processing tools also deserve attention. Sharpening, contrast adjustment, measurement functions, annotations, and presets can support clinical review, but software should clarify the image rather than disguise a weak acquisition. The goal is a diagnostic image with sensible exposure and repeatable quality, not an overly processed image that creates uncertainty.
Sensor Size and Patient Comfort
Most practices benefit from a system offering at least size 1 and size 2 sensors. Size 1 is often useful for children, smaller adults, and tight posterior anatomy. Size 2 is the familiar choice for most adult bitewings and periapicals. Some offices also require size 0 for pediatric imaging or size 1.5 for specific workflow preferences.
Physical dimensions matter as much as the size label. Compare the active imaging area, overall sensor housing, corner shape, thickness, and cable exit point. A larger active area may reduce the number of images required, while a thicker or more rigid sensor can be difficult for patients with limited opening, tori, gag reflexes, or sensitive soft tissue.
There is no universally comfortable sensor. The better question is whether your sensor sizes and holder system give the team options when routine positioning becomes challenging.
Compare Workflow, Not Just Hardware
A sensor that captures a strong image but interrupts the clinical flow can create frustration over time. During a demonstration, look at the entire sequence: selecting the patient, choosing the image series, acquiring the image, confirming diagnostic quality, retaking when necessary, and saving the study to the record.
Direct USB sensors generally provide immediate image acquisition and avoid plate scanning steps. That speed is valuable in restorative and emergency settings. However, cable management matters. A cable that is too stiff, poorly routed, or vulnerable at the connection point can affect both patient positioning and long-term durability.
Wireless sensor systems can reduce cable clutter, but they introduce their own considerations, including battery management, connection reliability, charging routines, and potential handoff delays. For some practices, wireless convenience is a strong fit. For others, a wired sensor's straightforward connection is the more dependable daily choice.
Also review operatory flexibility. Can the sensor move easily between rooms? Does each room need a dedicated workstation? Is the connector compatible with your computer setup? Small workflow limitations become expensive when multiplied across hundreds of images each week.
Software Compatibility Can Decide the Purchase
Before placing an order, confirm compatibility with your practice management and imaging environment. Ask whether the sensor works with your current imaging software, whether drivers are supported on your operating system, and whether integration requires additional licenses, bridges, or technical configuration.
This step is particularly important for multi-location groups and dental schools. A sensor system that works well in a stand-alone test environment may create unnecessary administrative work when it must be deployed across a managed network. Consider user permissions, image storage location, backup procedures, cybersecurity policies, and the process for replacing a workstation.
Software support should be clear, not assumed. Determine who handles installation, remote troubleshooting, updates, and driver-related problems. A transparent supplier can explain what is included, what your IT team must provide, and what response path is available if an operatory goes down during patient care.
Durability, Warranty, and Replacement Planning
Digital sensors operate in a demanding environment. They are positioned repeatedly, exposed to bite pressure, disinfected between patients, and handled by multiple team members. Even careful offices should plan for eventual wear or accidental damage.
Compare the warranty length, what the warranty covers, any exclusions related to cable damage or bite marks, and the process for obtaining service. A longer warranty is meaningful only if the claim process is practical and the supplier can clearly explain turnaround expectations.
It also helps to ask about replacement availability before a problem occurs. If a sensor fails, can the practice obtain a replacement promptly? Is a loaner program available? Are individual sensors available, or must the office repurchase an entire bundle? For high-volume practices, a backup sensor can protect production and prevent disruption to patient care.
Care protocols influence service life. Use appropriate barriers, follow manufacturer cleaning guidance, avoid sharp cable bends, and train staff on safe storage. Sensor holders are not an accessory to overlook. A stable holder system improves positioning, helps reduce retakes, and can limit patient bite force directly on the sensor.
Calculate Total Cost, Not the Sticker Price
The purchase price is only one part of the financial decision. A complete dental digital sensor comparison should include software costs, installation requirements, accessories, replacement risk, warranty coverage, staff training, and productivity gained from faster image capture.
A less expensive sensor may offer excellent value if it produces diagnostic images, integrates cleanly, and has responsive support. A premium-priced system may make sense when a specialty practice requires a particular software ecosystem, advanced workflow feature, or established multi-site standard. Neither option is automatically better.
For a practice replacing film or phosphor plates, estimate the savings from reduced processing, fewer retakes, and faster treatment discussions. For offices already using digital imaging, focus on reliability, operator efficiency, and how much downtime the new system can prevent. The best return on investment often comes from equipment that your team adopts quickly and uses consistently.
Questions to Settle Before You Buy
Before committing to a sensor system, obtain clear answers on diagnostic image expectations, sensor dimensions and available sizes, compatibility with your existing software, included accessories, warranty terms, technical support, and replacement lead times. Request written specifications and confirm whether the product is FDA-cleared for its intended dental use.
For a larger purchase, involve the people who will use and support the system: lead assistants, hygienists, doctors, office managers, and IT personnel. Their feedback can surface issues that do not appear on a specification sheet, such as holder preferences, cable routing, room layout, or training needs.
ProElite Dental Supply helps practices evaluate professional imaging technology with an emphasis on dependable products, transparent communication, and smart-practice pricing. The strongest sensor choice is the one that gives your clinicians clear images, gives your team a repeatable process, and gives your practice confidence that daily imaging will stay on schedule.