

Dental Microscopes That Earn Their Place in Practice
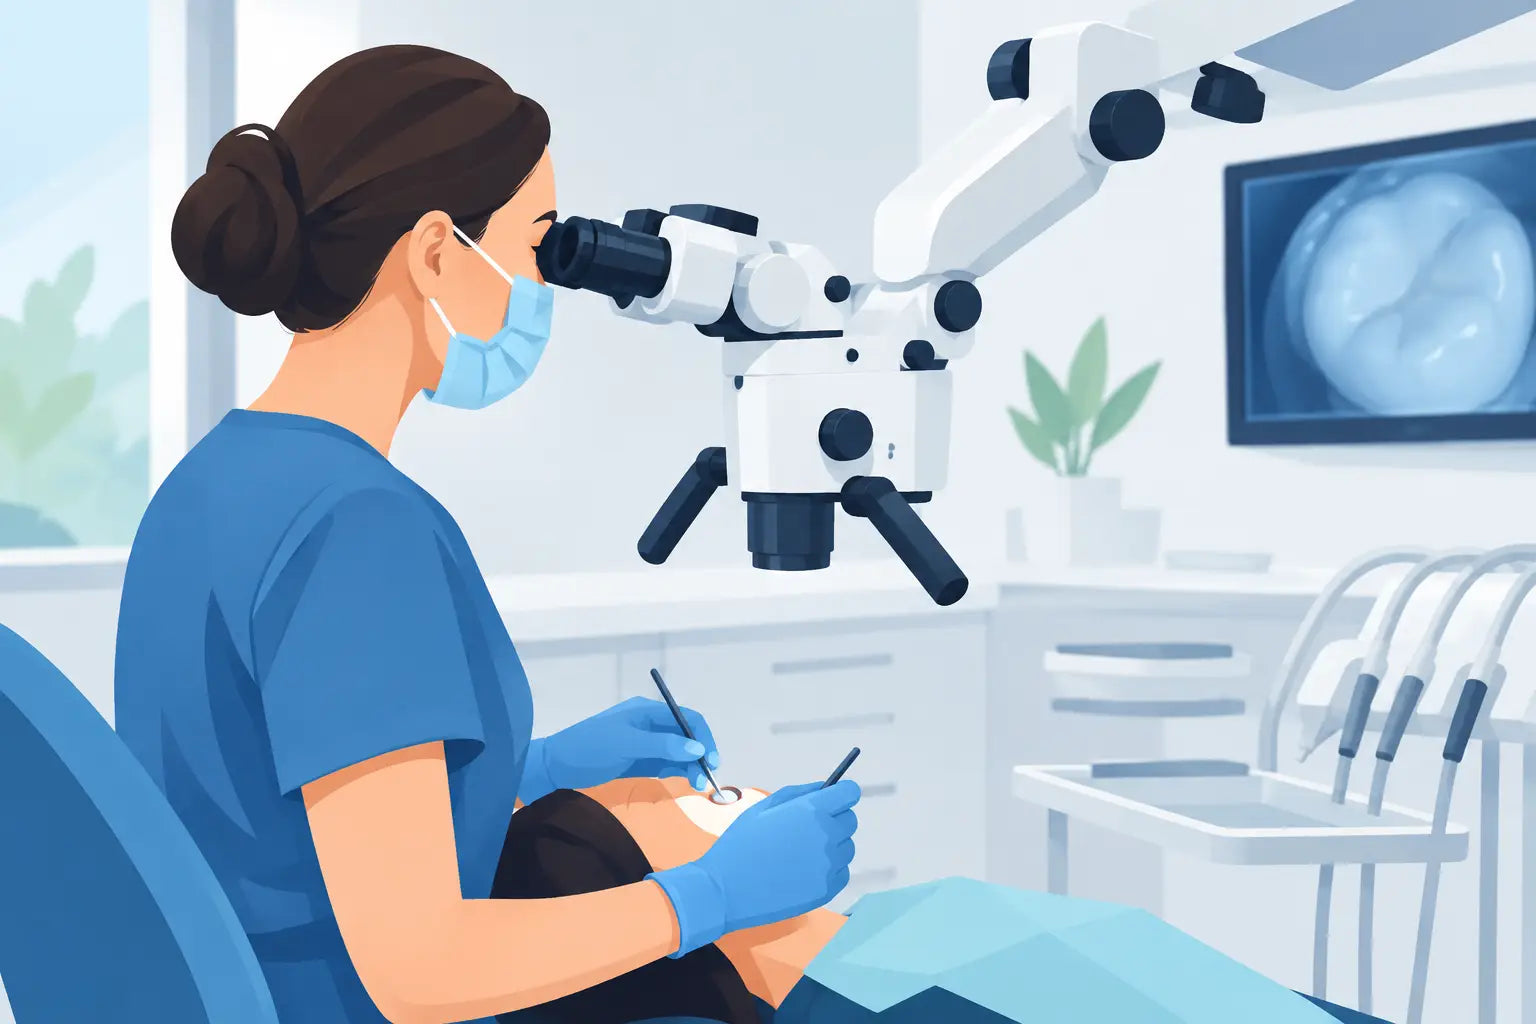
A missed canal, a poorly defined margin, or an indistinct fracture line can change the course of a case. Dental microscopes give clinicians more than magnification at those moments. They deliver controlled illumination, enhanced depth perception, and a more repeatable visual field for procedures where millimeters matter.
For practices evaluating a microscope purchase, the question is rarely whether better visibility is valuable. The real question is whether the system fits the procedures, operator preferences, operatory layout, and financial goals of the practice. A well-selected microscope can support more precise work and stronger documentation without forcing a practice into a premium legacy-equipment price point.
Why Dental Microscopes Matter Beyond Magnification
Loupes remain a productive choice for many procedures. They are portable, familiar, and relatively easy to introduce across a clinical team. But a dental microscope provides capabilities that loupes cannot fully duplicate: higher available magnification, coaxial illumination, binocular or trinocular viewing, a stable hands-free visual field, and the option to capture images or video.
That difference is most visible in endodontics. Locating calcified canals, identifying extra anatomy, distinguishing a crack from a stain line, and evaluating access preparation all become more manageable when light is directed along the clinician's line of sight. The microscope does not make a complex tooth simple, but it gives the clinician clearer information before making the next decision.
In restorative dentistry, magnification can improve margin inspection, caries removal, seating verification, and adhesive procedures. In surgical and implant workflows, it can help clinicians assess soft tissue, suture placement, and fine anatomical detail. Documentation is another practical benefit. A camera-equipped microscope can support patient education, consultation, treatment records, and team communication without relying on a separate imaging setup.
Where the Return on Investment Shows Up
A microscope should be viewed as a clinical workflow investment, not simply a larger magnifier. Its return can appear in several places: improved diagnostic confidence, fewer visibility-related compromises, more useful case documentation, and greater efficiency once the operator is comfortable using it.
For an endodontic practice, the value may center on better visualization of canal anatomy and the ability to document findings for referrals. For a general practice, the microscope may have its strongest impact in restorative quality control, cosmetic work, and patient conversations. A specialist office may use video capture to strengthen teaching, referral communication, or records for complex cases.
The timeline matters. A microscope is not an instant productivity tool on day one. There is a learning curve involving positioning, focal distance, mirror technique, assistant coordination, and posture. Practices that plan for training and intentional adoption usually see better results than those that install a unit and expect it to immediately transform every procedure.
Choosing Dental Microscopes for Your Clinical Mix
The right configuration depends on how the microscope will be used most often. Before comparing brands or feature lists, define the primary clinical cases it needs to support. This step prevents overbuying features that will rarely be used and underbuying the elements that affect daily usability.
Magnification range and optical quality
A practical microscope should provide a useful range of magnification steps rather than chasing the highest number on a specification sheet. Low magnification is valuable for orientation and broad-field work. Mid-range settings often handle much of restorative and endodontic treatment. Higher magnification becomes useful for canal orifice inspection, crack evaluation, margin detail, and other fine clinical tasks.
Optical clarity, depth of field, and ease of focus deserve as much attention as magnification level. A system that delivers a bright, clear image at the settings used most often will serve the practice better than one with impressive maximum magnification but frustrating everyday handling.
Illumination and color accuracy
Coaxial LED illumination is a major reason clinicians move from loupes to a microscope. Light travels in line with the viewing path, reducing shadows in deep preparations and narrow access cavities. Evaluate brightness adjustment, uniformity of illumination, color rendering, and how comfortably the light performs over longer appointments.
Color accuracy matters for restorative evaluation and photography. It also supports more consistent clinical documentation. If a practice plans to use captured images in patient presentations, the image quality should be assessed as part of the buying decision, not treated as an afterthought.
Mounting style and operatory fit
A microscope can be ceiling-mounted, wall-mounted, floor-mounted, or integrated through another support configuration. Each approach has trade-offs. Ceiling mounts can keep the floor clear and offer broad reach, but installation requirements need to be verified. Wall-mounted systems preserve mobility around the chair but depend on suitable wall structure and room geometry. Floor stands can offer flexibility, especially when remodeling is not planned, although they occupy floor space and must be positioned carefully.
The best choice depends on the operatory, not marketing photos. Measure the treatment room, account for the chair's travel path, consider monitor placement, and make sure the clinician and assistant can move naturally around the patient. A microscope that looks compact in a product image can feel intrusive if the arm reach or mounting location is wrong for the room.
Documentation options
For some offices, a binocular microscope is sufficient. For others, a trinocular configuration with camera or video capability is worth the added investment. The deciding factor is how the practice intends to use visual documentation.
A clinician who regularly handles referrals, complex endodontic cases, cosmetic treatment planning, or education may benefit substantially from imaging capability. A practice focused on occasional magnification-assisted procedures may place more value on optics and ergonomics than recording features. There is no universal answer, but the system should be ready for the level of documentation the practice expects to provide.
Ergonomics Are a Clinical Feature
Dentistry places sustained demands on the neck, shoulders, back, and eyes. If a microscope forces the operator into an awkward position, its clinical advantages can be undermined by fatigue. Ergonomics deserve the same consideration as optical specifications.
Look for adjustable binocular tubes, a comfortable working distance, balanced articulation, and controls that can be reached without disrupting the procedure. The goal is to keep the clinician upright while the optics come to the field. This can take adjustment for clinicians accustomed to leaning toward the patient, but it is one of the most meaningful long-term benefits of microscope-based dentistry.
Assistant positioning matters, too. If the assistant cannot clearly anticipate the field, pass instruments, or manage suction without obstructing movement, the workflow will slow down. Consider co-observation options, monitor placement, and the physical path around the chair before finalizing a configuration.
A Practical Implementation Plan
The purchase decision is only the beginning. Successful adoption benefits from a short, deliberate rollout plan. Start with procedures that have obvious visual advantages, such as access preparation, margin evaluation, restorative finishing, or suspected crack assessment. Familiar cases allow the clinical team to learn positioning without the pressure of a highly complex case.
Schedule time to set clinician preferences for interpupillary distance, working distance, brightness, and chair position. Develop consistent room setup habits so the microscope is available rather than parked out of the way. If imaging is included, establish a simple protocol for capturing, labeling, and storing photos or video in line with the practice's documentation policies.
Training should include the entire team. The assistant needs to understand the line of sight, instrument transfer approach, and how to reposition the scope safely. Front-office and treatment coordinators can also benefit from seeing how microscope images support patient education. A sharp image of a cracked cusp or failing margin often makes a treatment conversation clearer and more credible.
Selecting a Supplier With the Right Support
High-value equipment deserves more than a transaction. Verify that the supplier serves licensed dental professionals, provides clear product specifications, offers responsive customer support, and can help address questions about setup, compatibility, and post-purchase needs. FDA-cleared equipment and transparent product information are especially important when purchasing clinical technology for a professional setting.
Price should be evaluated in context. The lowest advertised number is not automatically the best value if it leaves unanswered questions about support, accessories, installation, or warranty coverage. At the same time, advanced microscopy should not be limited to practices willing to pay legacy-brand premiums. ProElite Dental Supply focuses on making professional-grade clinical technology more attainable while providing dependable support for practices building smarter operatories.
A dental microscope earns its place when it becomes part of the way the team sees, treats, and communicates, not when it simply occupies space beside the chair. Choose the configuration that matches your everyday cases, give the team time to build the habit, and let better visibility support better decisions one procedure at a time.