

Digital Impression Workflow Guide for Practices
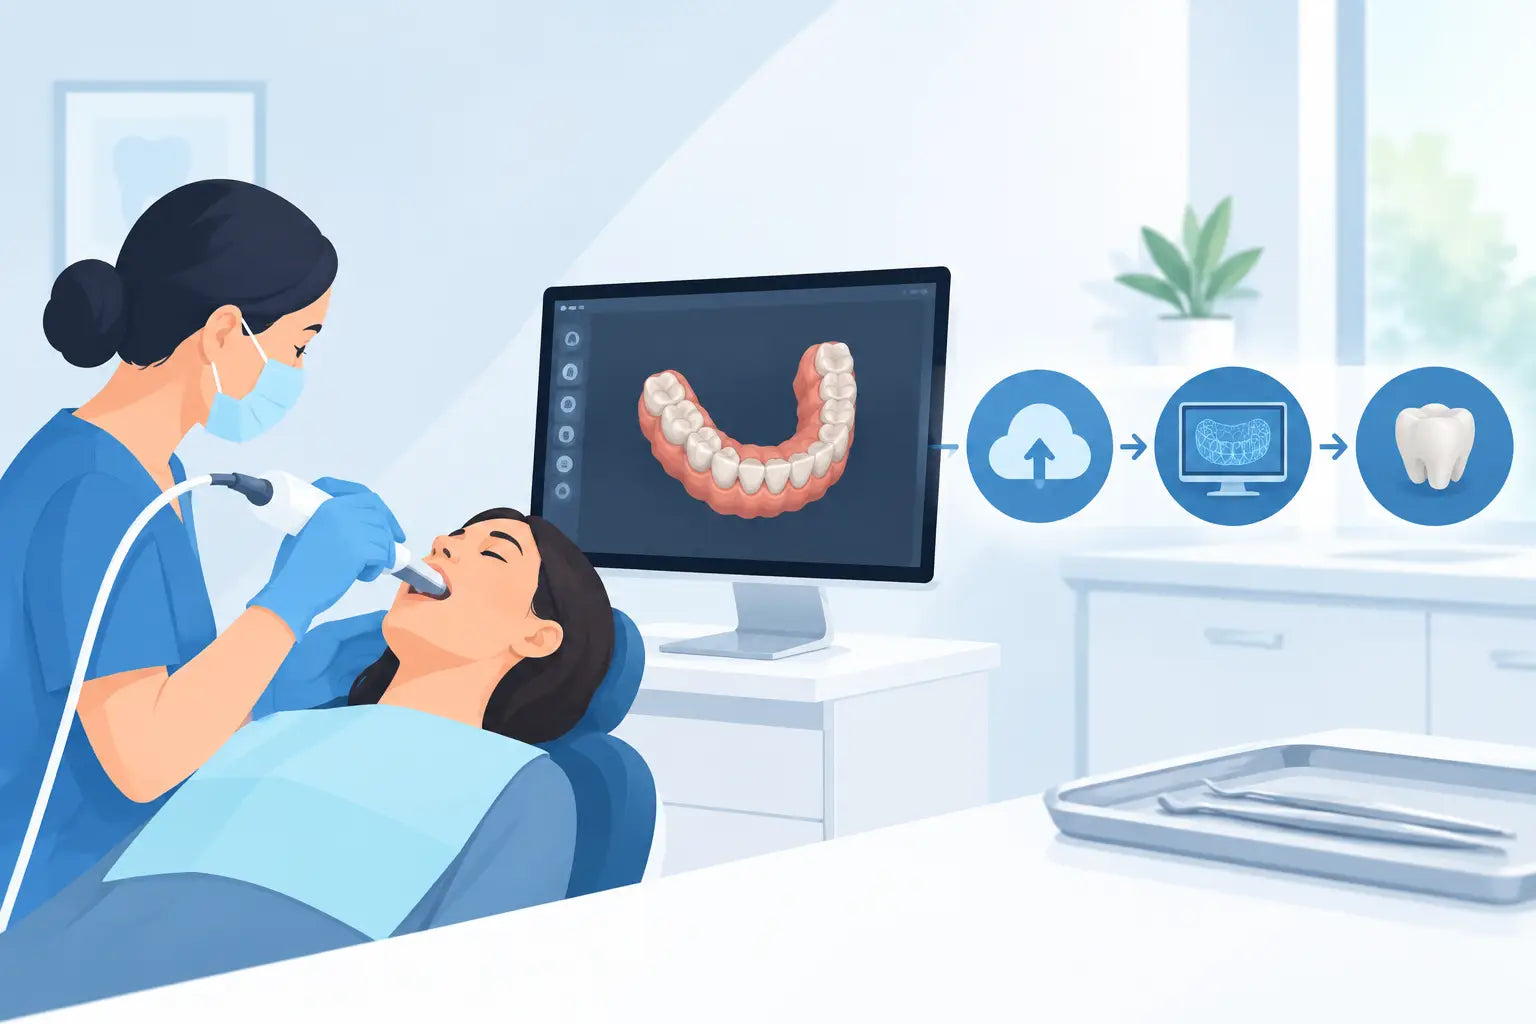
A missed distal margin, saliva around a prepared tooth, or a scan completed before the patient is properly positioned can turn a five-minute appointment into an avoidable rescan. A disciplined digital impression workflow guide gives the clinical team a repeatable way to capture complete, usable data the first time - while protecting chair time, lab communication, and case profitability.
Digital impressions are not simply conventional impressions without tray material. They are a clinical data-capture process. The scanner matters, but consistent preparation, tissue management, scan strategy, review, and file handling matter just as much. When every team member knows what good capture looks like, digital dentistry becomes a practical efficiency upgrade rather than another technology that creates bottlenecks.
Start With Cases That Match Your Scanner Workflow
The best implementation begins with case selection. Single-unit crowns, short-span fixed cases, inlays, onlays, and clear aligner records are often logical starting points because the clinical objectives are familiar and the digital process can be measured easily. These cases let the team establish habits before moving into more demanding workflows.
Full-arch restorative work, implant-supported restorations, edentulous cases, and cases involving mobile tissue can be highly successful digitally, but they require more deliberate protocols. Accuracy depends on the scanner, the software, the scan body system when implants are involved, the patient’s anatomy, and the laboratory’s preferred workflow. Do not assume that a successful single-crown scan automatically translates to a predictable full-arch implant record.
Before the first case, align your clinical team and laboratory on practical questions: Which file type does the lab accept? Are they receiving the opposing arch and bite record in the same portal? Do they have preferred scan body libraries? What images, shade information, or prescription details do they need alongside the digital file? A clean scan without complete case instructions can still delay production.
The Digital Impression Workflow Guide: A Clinical Sequence
A repeatable sequence helps prevent the most common causes of rescans. The goal is not to make every appointment rigid. It is to ensure that essential steps happen consistently, even when the schedule is full.
1. Prepare the field before opening the scanner
Isolation and visibility determine scan quality. Retract soft tissue appropriately, control saliva, clear excess moisture, and confirm that the preparation is free of debris. For crown and bridge work, the finish line must be visible around its entire circumference. If the margin cannot be seen clinically, the scanner cannot reliably record it.
Cord placement, hemostatic agents, retraction paste, suction, and dry angles should be selected according to the tissue condition and the procedure. The trade-off is simple: rushing past tissue management may save a few minutes at the beginning, but it can create a rescan, a lab question, or an ill-fitting restoration later. For subgingival margins, conventional techniques may still be appropriate in certain situations. Digital tools improve the process, but they do not eliminate biological and restorative fundamentals.
2. Scan in a consistent order
Use the same scan path for similar cases so the operator develops muscle memory. Many practices begin with the prepared arch, move to the opposing arch, and then capture the bite. Others prefer to scan the opposing arch first when it is easier to access. Either sequence can work when it is standardized and the team understands why it is being used.
Keep the scanner tip at a stable working distance, move deliberately, and overlap each pass enough for the software to maintain tracking. Avoid fast, sweeping movements that skip occlusal anatomy or lose the distal surfaces. Pause when needed. A steady, complete scan is faster than repeatedly trying to repair missing data.
For posterior preparations, pay special attention to the distal and lingual areas. For anterior cases, capture adequate facial data and the adjacent gingival contours needed for esthetic communication. When scanning an implant case, confirm that the scan body is fully seated, clean, and correctly oriented before capture. Small errors at this stage can have major restorative consequences.
3. Review the model chairside, not after the patient leaves
The review screen is a clinical checkpoint, not a formality. Rotate the digital model and inspect margins, interproximal contacts, occlusal anatomy, edentulous spans, and the bite relationship. Look for holes, stitched artifacts, pulled tissue, double images, or surfaces that appear unusually flat or noisy.
For indirect restorations, ask a direct question: Could a technician clearly identify the margin and design the restoration from this data? If the answer is uncertain, correct the record while the patient is still seated. This is where digital impressions create a real operational advantage. A problem can be identified immediately instead of appearing days later after a physical impression reaches the lab.
4. Add complete case information before submission
The scan is only one part of the prescription. Enter the restoration type, tooth number, material request, shade, stump shade when relevant, occlusal instructions, and any special design considerations. Attach clinical photographs for high-esthetic cases or when the lab needs additional context.
Be specific when a case departs from standard expectations. If a patient has a parafunctional history, limited interocclusal space, unusual emergence profile requirements, or a provisional that should be duplicated, say so. Clear digital communication reduces back-and-forth and helps the laboratory make better decisions from the start.
Train the Whole Team, Not Just One Scanner Champion
A scanner often performs well in the hands of the person who first learned it, then sits unused when that person is off. The stronger model is cross-training. Hygienists, assistants, and doctors can each have defined roles based on state scope-of-practice requirements, office policy, and clinical judgment.
Create a short internal protocol that covers scanner disinfection, tip handling, patient positioning, scan path, quality review, file submission, and troubleshooting. It should also identify who checks software updates and calibration requirements. Consistency supports clinical confidence, protects the equipment investment, and makes onboarding new team members easier.
A useful quality-control routine includes five checks before a case is sent:
- The entire preparation margin is visible and readable.
- Occlusal and interproximal surfaces are complete without major artifacts.
- The opposing arch contains enough anatomy for accurate articulation.
- The bite scan reflects stable, repeatable closure.
- The prescription and supporting records match the planned restoration.
Build Scanning Time Into the Appointment Template
Digital impressions can shorten overall turnaround, but the first few weeks may require modestly longer appointments as the team learns. Build that learning curve into the schedule instead of forcing a new workflow into an already compressed restorative block.
For a straightforward crown, allow enough time for preparation, tissue management, scanning, review, and patient communication. If the practice is transitioning from conventional impressions, avoid scheduling a digital scan as though it will take zero additional minutes from day one. The right schedule protects the patient experience and gives clinicians time to confirm the data before proceeding.
Once the team is proficient, digital records can reduce material setup, retakes caused by distorted impressions, packing and shipping tasks, and lab delays tied to unclear physical impressions. The financial return is therefore broader than the scanner purchase price. Consider reduced remake risk, fewer appointments disrupted by lab questions, faster file transfer, lower consumable usage, and the ability to support restorative, implant, orthodontic, and patient-education workflows from one platform.
Choose Equipment Based on Support, Not Specs Alone
Scanner specifications deserve attention, but the purchase decision should also account for training, warranty coverage, service responsiveness, software costs, open or closed lab options, computer requirements, and compatibility with the procedures your practice performs most often. A lower upfront price may be attractive, but it is not a value if support is difficult to reach or the workflow does not fit your lab relationships.
For practices comparing intraoral scanning options, prioritize clinically useful factors: image quality in posterior areas, tracking stability, ergonomics, tip availability, software usability, export options, and implementation support. Confirm whether the product is appropriate for your intended professional use and whether applicable regulatory clearance and documentation are available.
ProElite Dental Supply helps practices evaluate professional-grade digital equipment with the same practical lens: dependable clinical performance, transparent purchasing, and responsive support. The right scanner should add efficiency and excitement to daily dentistry without creating unnecessary complexity for the people using it.
A successful digital workflow is built one predictable case at a time. Start with clear protocols, review every scan before dismissal, and use early results to refine the process. When the team trusts the data it captures, digital impressions stop being a technology project and become a better way to deliver care.