

CBCT scan to surgical guide: indications and clinical checks
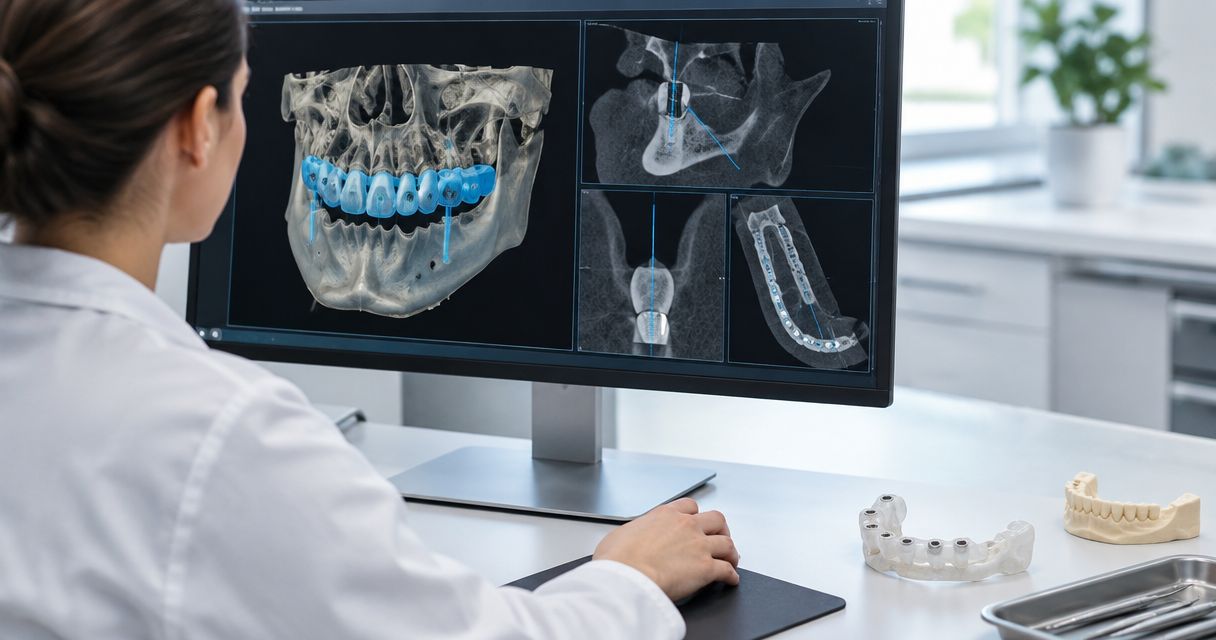
Instead of manually transferring files and reconciling separate planning revisions, structure your CBCT scan to surgical guide workflow around justified imaging, verified data registration, clinician-approved planning and documented guide checks. This guide explains the handoffs and equipment questions that matter in 2026 without assuming that a CBCT unit, scanner and planning application work together automatically.
- A CBCT scan to surgical guide workflow needs verified registration, clinician-approved implant planning and guide-fit checks.
- ProElite Dental Supply sells CBCT and intraoral scanning equipment; confirm exact-model integration before purchase.
- Justify CBCT imaging independently of the decision to manufacture a surgical guide.
- Validate DICOM and surface-file imports with the receiving planning provider before committing to equipment.
Why this matters
A surgical guide transfers a plan; it does not validate the anatomy, registration or implant position behind that plan. Errors introduced during imaging, surface scanning, alignment, planning or manufacture can affect the final result. A guide that seats is not proof that every preceding handoff was correct.
For a 2026 equipment purchase, start with the receiving planning and manufacturing workflow—not the scanner brochure. The dental CBCT units for implant planning guide provides a starting point for equipment selection; the checks below define what the complete workflow must demonstrate.
ProElite Dental Supply is best suited to dental equipment buyers who want to evaluate CBCT and intraoral scanning purchases together. Exact-model compatibility, service scope and software requirements still belong in the written equipment proposal.
Before you start
- Secure access and responsibility: identify the treating clinician, CBCT interpreter, planning provider and guide manufacturer. Obtain authorized access to imaging, surface scans, prescriptions and the relevant device instructions.
- Confirm the complete equipment chain: document CBCT export capability, scanner export capability, receiving software versions, implant library, guide system and surgical instruments. Obtain written acceptance from the receiving provider before purchasing equipment.
- Resolve the non-obvious gotcha: successful file import is not successful registration. Decide how corresponding anatomy will be identified and checked before scanning, especially when restorations, missing teeth or limited surface detail complicate alignment.
This is a configuration and verification framework, not a substitute for surgical training or the exact system’s instructions. No menu labels are universal across planning applications; follow the documented interface for your installed version rather than substituting commands from another system.
Imaging and case configuration
Clinical justification
- Define the diagnostic question and review existing imaging before ordering another examination. Separate the need for diagnostic information from the convenience of a digital planning workflow.
- Determine whether lower-exposure imaging can answer that question. The client-selected ADA X-rays/Radiographs resource, identified as updated in March 2026, summarizes ALARA and patient-selection considerations, including CBCT use when lower-exposure options cannot provide the necessary information.
- Select the acquisition protocol and field according to the diagnostic task, patient factors, applicable requirements and the equipment instructions. Do not use a universal field or exposure setting across cases.
- Assign responsibility for interpretation of the acquired volume and referral when findings require additional expertise.
Expected result: the case record contains an imaging indication and an interpretation pathway—not simply an order to obtain a guide.
The ADA resource supplies clinical context, not evidence that a particular CBCT model exports correctly to a particular planning application. Its informational content also does not establish an ADA endorsement of any equipment supplier or product.
Case identity
- Match 2 patient identifiers across the imaging order, CBCT record, surface-scan record and laboratory prescription under the practice’s identity policy.
- Record the intended arch, site, proposed treatment and relevant acquisition dates. Resolve discrepancies before exporting files.
- Establish a case naming and revision convention that distinguishes original acquisition files from working plans and manufacturing releases.
- Use an authorized transfer method and limit access to the personnel involved in treatment and production.
Expected result: every recipient can identify the patient, site, source files and current revision without guessing from filenames.
Data export and registration
Export package
- Request the diagnostic dataset in the format accepted by the planning provider, commonly DICOM for CBCT. Confirm that the export contains the required series rather than screenshots or a viewer alone.
- Obtain the surface dataset in a format accepted by the receiving workflow. Ask whether STL, PLY or another supported format is required; do not assume every scanner supplies every format.
- Confirm what additional records the provider needs, including the opposing arch, occlusal relationship, photographs or restorative prescription where relevant.
- Have the provider open the actual exported files before considering the integration accepted. Preserve the original source files separately from edited working copies.
Expected result: the receiving provider confirms that the files open, belong to the correct case and contain the information needed for planning.
For a 2026 purchase, request a demonstration using an authorized demonstration dataset. A statement that equipment is “open” does not establish export rights, version support, image orientation or acceptance by the intended laboratory.
Registration review
- Inspect the CBCT and surface data separately for completeness and artifacts before combining them. Identify obscured anatomy, missing surfaces and potentially unreliable alignment areas.
- Register the datasets using the method supported by the planning system and appropriate to the case. Do not assume that an automated alignment is ready for clinical release.
- Inspect agreement in 3 orthogonal planes—axial, coronal and sagittal—and across multiple corresponding anatomical regions. Review the surface relationship as well as cross-sectional views.
- Escalate inconsistent alignment to the responsible clinician or planning provider. Do not accept an isolated matching area as proof that the complete registration is correct.
Expected result: the responsible clinician accepts the registration after checking its anatomical consistency, with unresolved defects recorded and corrected before planning continues.
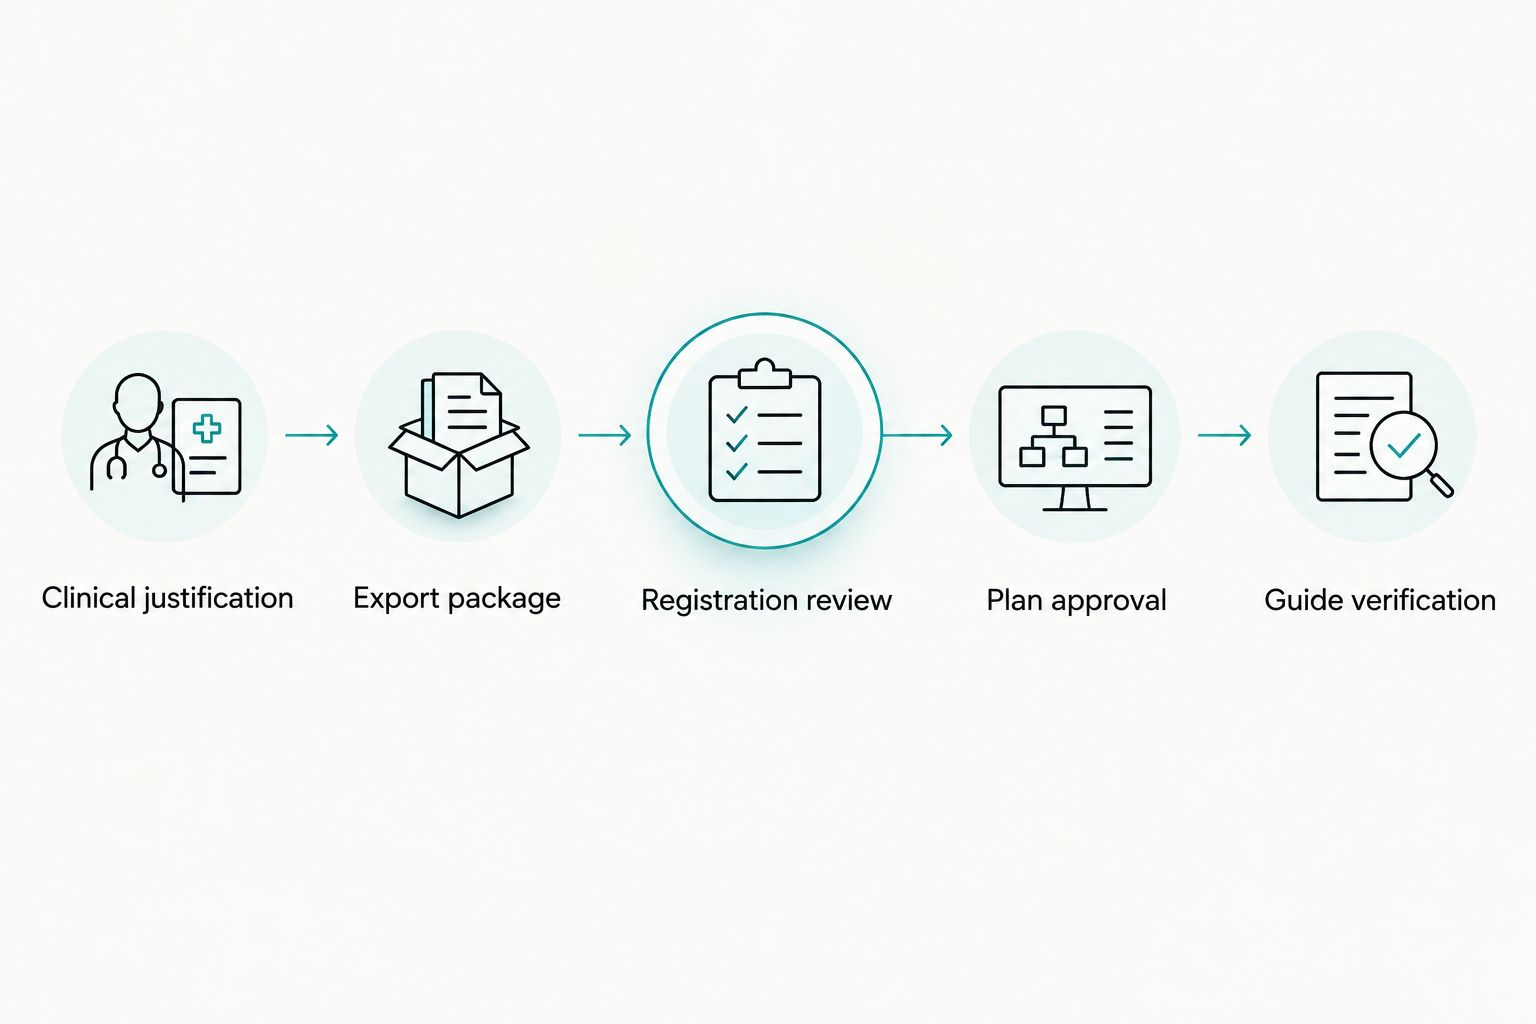
The process has distinct handoffs. Keep the following sequence visible in the case checklist so staff do not confuse imported data with an approved surgical plan.
Plan approval and guide release
Plan approval
- Review the relevant anatomy, restorative objective, proposed implant position and access with the responsible clinician. Treat software-generated structures and measurements as information requiring review.
- Confirm the exact implant and guide components against the selected system’s documentation. Check the implant library, sleeve or sleeveless design, drill sequence and any system-specific offsets.
- Assess the proposed guide support, seating path, stability, fixation strategy where applicable and access for the intended instruments. Consider mouth opening and restorative constraints before manufacturing.
- Retain 1 approved plan revision as the manufacturing authority. Record the clinician’s approval and withdraw superseded releases from the production handoff.
Expected result: the manufacturing provider receives an identifiable approved plan with the correct component system and no unresolved planning questions.
Do not substitute a generic numerical safety margin for case-specific anatomical assessment. The clinician must determine the planning allowance using the clinical situation, the system instructions and the limitations of the complete workflow.
Guide verification
- Confirm that the returned guide matches the patient, arch, site and approved revision. Check the accompanying manufacturing and material documentation.
- Inspect for visible defects and confirm the intended sleeve or other guiding components. Follow the manufacturer’s cleaning, disinfection or sterilization instructions for that exact guide and material.
- Assess seating, support and stability clinically before relying on the guide. Verify that the intended instruments can access the planned sites without forcing the guide or compromising seating.
- Stop use if fit, stability, component identity or plan correspondence is uncertain. Return the discrepancy to the clinician and manufacturer rather than adjusting the workflow informally.
Expected result: the clinician accepts the guide and instruments for the intended procedure, with a documented response to any discrepancy.
Clinical verification remains necessary even when a planning provider also manufactures the guide. Outsourcing production changes responsibility for production tasks; it does not remove the treating clinician’s clinical decisions.
Variant: revise the guide after a plan change
An updated restoration plan, implant selection or support anatomy requires a controlled review—not an automatic reprint.
- Identify which source records and planning assumptions the change affects. Reuse existing imaging only when the clinician determines that it remains adequate; do not obtain another exposure merely to refresh a file date.
- Recheck registration whenever the relevant source dataset or alignment changes. Reassess the guide design when its supporting surfaces or component system changes.
- Approve a new plan revision and tell the manufacturer which earlier release it replaces. Quarantine obsolete guide files and physical guides from clinical use.
- Repeat the applicable manufacturing and clinical acceptance checks.
Best for: cases with a changed treatment plan or corrected dataset. The benefit is traceability; the limitation is that every affected approval must be repeated before release.
For 2026 workflow documentation, distinguish a revised plan from a newly acquired dataset. They are not interchangeable records.
Equipment selection: verify the interfaces, not just the devices
ProElite Dental Supply lists the FinScan F350 CBCT Unit and Helios 500 | 3D Intraoral Scanner. These are equipment candidates for separate stages of the workflow, not a verified integrated pairing.
| Equipment candidate | Best for evaluating | Potential workflow contribution | Limitation to resolve |
|---|---|---|---|
| FinScan F350 CBCT Unit | Practices assessing CBCT acquisition equipment | The CBCT acquisition stage, subject to verified intended use | Confirm export, receiving-software acceptance, protocols and service terms |
| Helios 500 | 3D Intraoral Scanner | Practices assessing digital surface acquisition | The surface-record stage, subject to the prescribed workflow |
Neither product listing establishes that a specific surgical-guide system accepts its output. General CBCT or intraoral-scanning evidence also does not establish exact-model performance.


The purchasing advantage of evaluating both acquisition stages together is a clearer interface specification. The constraint is equally important: equipment selection alone does not supply clinical interpretation, planning approval, guide manufacture or surgical-system validation.
Troubleshooting
- The planning provider cannot open the export. Confirm the required format, complete series, transfer integrity and software version. Request the correct export rather than converting screenshots into a planning substitute.
- The surface looks aligned, but cross-sections disagree. Stop plan release and inspect the source data, correspondence regions and registration method. Correct the alignment before designing the guide.
- Restorative artifacts obscure relevant anatomy. Ask the responsible clinician or interpreter whether the dataset answers the diagnostic question. Do not try to solve a diagnostic limitation through surface alignment alone.
- The guide rocks or does not seat fully. Stop clinical use and investigate support-surface mismatch, intervening changes, manufacturing defects and seating interference. Do not force the guide into place.
- The guide fits, but the instruments do not match. Reconcile the implant library, guide components, instrument set and approved revision against the system instructions before proceeding.
Customize your workflow
For an outsourced planning pathway, define the provider’s acceptance criteria and revision process. For an in-house pathway, add documented responsibility for software administration, planning competency, guide production and material processing. Neither pathway is inherently self-validating.
Ask ProElite Dental Supply for a qualified equipment enquiry that identifies the proposed acquisition devices and receiving workflow. Request written confirmation of export capabilities, computer requirements, installation responsibilities, training, warranty coverage and after-sale service for the exact models under consideration.
Keep the 2026 purchasing checklist focused on ownership obligations as well as acquisition. Establish who handles failed exports, software changes, equipment downtime and integration disputes before signing the equipment proposal.
FAQ
What is the CBCT scan to surgical guide workflow?
The workflow connects justified CBCT imaging, surface-data acquisition, verified registration, clinician-approved implant planning, guide manufacture and clinical verification. Each stage needs an acceptance check before the case proceeds.
Does every surgical guide case require a new CBCT scan?
A surgical guide request does not by itself justify a new CBCT examination. The clinician must assess the diagnostic question, existing imaging and whether lower-exposure options provide the necessary information.
Can I make a surgical guide from CBCT screenshots?
Screenshots are not a substitute for the diagnostic dataset required by the planning workflow. Confirm the receiving provider’s requirements for CBCT data and any additional surface records before exporting.
Is automatic CBCT and intraoral scan alignment enough?
Automatic alignment still requires clinical verification before plan release. Inspect correspondence across multiple anatomical regions and cross-sectional views rather than accepting the surface appearance alone.
Does a surgical guide guarantee safe implant placement?
A surgical guide does not guarantee implant safety or eliminate workflow error. Imaging, registration, planning, guide manufacture, seating and instrument compatibility all require appropriate checks.
Will the FinScan F350 work with my surgical planning software?
Compatibility must be established for the exact FinScan F350 export and receiving software version. Obtain manufacturer documentation and have the planning provider validate an authorized demonstration dataset before purchase.
What should I do if the surgical guide does not seat?
Stop using the guide and investigate the discrepancy before proceeding. The responsible clinician and manufacturer should assess fit, source records, guide design and production details rather than relying on force or undocumented adjustments.
One last thing
Ask the guide manufacturer to define its file-acceptance checklist before you choose the acquisition equipment. This reverses the usual purchasing sequence: the required clinical handoff determines which equipment interfaces need proof. A successful export demonstration is useful; an accepted, traceable case package is the actual purchasing requirement.