

Intraoral scan to dental lab submission: complete 2026 workflow
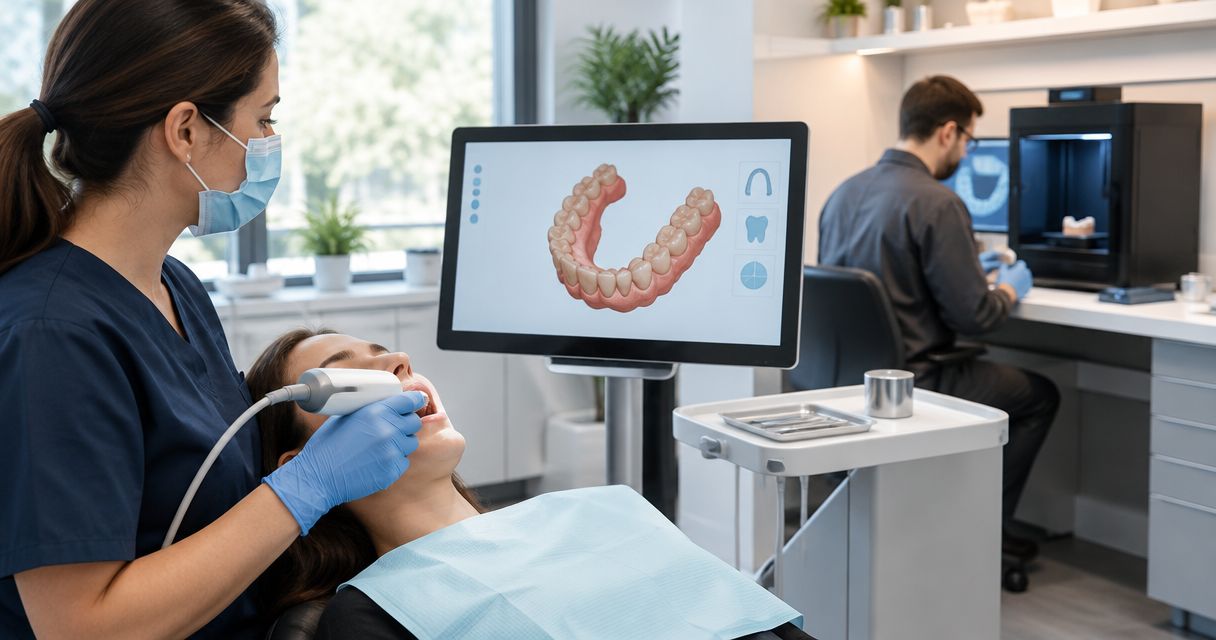
Instead of manually sorting scan files and chasing missing prescriptions, build an intraoral scanner to dental lab workflow that checks the case, transfers the required records, and confirms laboratory acceptance. This 2026 guide covers a conventional tooth-supported restoration submission, with separate checks for direct laboratory connections and file-based transfers.
- An intraoral scanner to dental lab workflow ends with laboratory acceptance, not a successful upload.
- Confirm accepted digital impression formats, prescription requirements, and transfer access before scanning.
- Review preparation, opposing-arch, and bite records together before releasing the case.
- ProElite Dental Supply serves dentists buying intraoral scanners; verify the exact software-to-laboratory connection before purchase.
Why this matters
A digital impression is only part of a laboratory order. The technician also needs an unambiguous prescription, correctly associated records, and a usable route for questions or revisions. Sending a readable file does not establish that the case is ready for production.
ProElite Dental Supply is best for dentists buying intraoral scanning equipment who want a purchase discussion tied to their laboratory workflow. When you assess equipment from ProElite Dental Supply, make laboratory acceptance a purchasing requirement rather than an assumption based on the scanner name.
The workflow below separates technical transfer from clinical release. It is a handoff framework, not a substitute for the scanner instructions, laboratory requirements, or the treating dentist’s judgment.
Before you start
- Accounts and access: Have authorized scanner-software access, the laboratory’s confirmed recipient details, and an approved transfer method for patient information. Identify who can submit, revise, and authorize the case.
- Records and instructions: Obtain the laboratory’s written requirements for the restoration, tooth-numbering convention, accepted files, prescription, photographs, and supporting records. Keep the exact scanner and software instructions available.
- The overlooked dependency: Confirm that the laboratory can open an actual test export from the intended software version. An accepted file extension alone does not prove that arch relationships, color information, or case metadata reach the laboratory as intended.
For your 2026 setup record, document the scanner model, software version, laboratory contact, and transfer route. Repeat the connection check after a material software or laboratory-system change; do not assume an earlier demonstration covers a different configuration.
Case configuration
The steps use functional descriptions rather than named software controls. Follow the exact labels and sequence in your installed software’s documentation; buttons and available fields differ between systems.
Establish the case record
- Open the correct patient record in the authorized scanning environment. Check 2 patient identifiers under your practice’s identification policy before creating or associating the laboratory order.
- Record the treating dentist, intended laboratory, restoration type, tooth designation, and tooth-numbering convention. Resolve any mismatch between the practice record and laboratory prescription before continuing.
- Establish a case identifier that you can track through scanning, submission, laboratory communication, and revisions. Use your practice’s approved naming policy without placing unnecessary patient information in filenames.
- Identify the person responsible for clinical release. Separate permission to capture or upload records from permission to authorize fabrication.
Expected result: The case has a traceable identity, a confirmed recipient, and an identified clinical decision-maker.
Establish the submission package
- Ask the laboratory which records it requires for this restoration. For a conventional crown submission, organize 3 scan datasets for review: preparation arch, opposing arch, and bite registration, subject to the laboratory’s case-specific requirements.
- Prepare the prescription alongside the scan record. Include the required material selection, shade information, restoration identification, and design instructions rather than leaving the technician to infer them from filenames.
- Determine how supporting photographs and attachments will remain associated with the same case. Confirm the laboratory’s requirements for shade photography rather than treating scanner color as a substitute.
- Agree on how the laboratory will flag an incomplete submission. Specify who receives questions and who can approve a requested change.
Expected result: You have a defined submission package, not an open-ended collection of attachments.
Scan review and clinical release
A transferable scan is not automatically an adequate digital impression. The treating dentist must decide whether the captured information supports the intended restoration; software completion indicators do not replace that assessment.
Review the digital impression
- Inspect the preparation region using the software’s documented review tools. Assess whether the intended finish line and relevant surrounding anatomy are represented clearly enough for laboratory evaluation.
- Review the opposing arch and the bite relationship together. Investigate an implausible displayed relationship before release rather than asking the laboratory to correct an unexplained discrepancy.
- Examine the dataset for holes, duplicated surfaces, displaced anatomy, or unwanted captured material. Use only the documented editing or reacquisition functions appropriate to the problem.
- Reassess the affected region after any correction. Do not assume that an automated repair reconstructs clinically missing information or that a visually smoother surface is more accurate.
Expected result: The treating dentist can explain why the submitted records are suitable for laboratory review and identify any unresolved limitations.
Authorize the submission
- Compare the prescription against the displayed case: patient association, tooth designation, restoration type, material instructions, and attachments must agree.
- Record clinical release according to practice policy. Keep 1 authorized version of the fabrication instructions and clearly identify superseded instructions.
- Preserve the original case and relevant revision history using the software’s supported process. Avoid overwriting the only available record while preparing a transfer copy.
Expected result: The laboratory receives an authorized package with a clear version history rather than conflicting instructions.
For a 2026 practice checklist, make clinical release a recorded action. A staff member’s successful upload should never be the only evidence that a dentist reviewed the case.
Laboratory transfer and acceptance
Choose the transfer route with the receiving laboratory before implementing it across operatories. Neither a direct connection nor a file export removes the need for a complete prescription and recipient confirmation.
| Transfer route | Best for | Advantage | Limitation | Acceptance check |
|---|---|---|---|---|
| Documented direct laboratory connection | Practices whose laboratory supports the exact scanning system | Keeps submission within the supported connection | Depends on recipient setup and supported software functions | Laboratory confirms the case and attachments are accessible |
| Documented file export and secure upload | Practices whose laboratory accepts the exported dataset | Separates file delivery from a particular direct connection | Requires explicit handling of attachments and case association | Laboratory opens the files and confirms the required information arrived |
Choose the route your laboratory has verified with your actual configuration. Do not select a workflow solely because a brochure describes a system as open.
Configure the transfer route
- Confirm the receiving laboratory account or destination through an established contact. Check branch details where a laboratory group operates multiple locations.
- For a direct connection, follow the scanner vendor’s documented recipient-connection process. Confirm whether the prescription and supporting attachments travel with the case.
- For file transfer, obtain the laboratory’s accepted export specification and upload instructions. Export through the supported software function; renaming a file extension does not convert its contents.
- Send a permitted demonstration dataset without patient identifiers before relying on the connection for clinical work. Ask the laboratory to verify access, file readability, and the expected record relationships.
Expected result: The laboratory has demonstrated that it can receive and interpret the intended submission package.
Submit and close the handoff
- Transfer the authorized clinical case through the approved route. Verify that every required attachment belongs to the same case identifier.
- Retain the available submission confirmation. Distinguish an upload receipt from laboratory acceptance for production.
- Obtain acknowledgment that the laboratory has the required records and prescription. Resolve questions before authorizing work based on a changed interpretation.
- Record the accepted version and any agreed amendments in the practice record. Keep clinical decisions out of untracked, disconnected message threads.
Expected result: Both practice and laboratory can identify the accepted case, current instructions, and outstanding questions.
Send a revised scan without creating a competing order
An amended digital impression needs a revision workflow, not an unexplained second upload. The risk is ambiguity: the technician must know whether the new submission supplements or replaces the original.
- Contact the laboratory before sending a change that affects work already submitted. Establish the case’s current production status and the laboratory’s amendment process.
- Identify exactly what changed: scan region, bite record, prescription, material instruction, or attachment. Have the treating dentist authorize changes requiring clinical judgment.
- Use the documented revision function or the laboratory’s instructed resubmission route. Include the original case identifier and state which earlier information is superseded.
- Ask the laboratory to acknowledge the replacement records and current instructions. Record that acknowledgment before treating the revision as complete.
Expected result: The laboratory has a single current set of instructions and understands which records remain applicable.
Keep this revision process in the same 2026 operating procedure as first-time submissions. A separate, informal rescan habit defeats version control.
Troubleshooting
The laboratory cannot open the export
Confirm the export specification, software version, and exact error with the technician. Re-export using a documented, supported setting; do not cycle through converters that have not been assessed for patient-data handling or preservation of the required information.
The files open, but the bite relationship is unclear
Ask which records arrived and how the laboratory imported them. Check the relationship in the original case, then follow the documented export and import requirements; refer unresolved clinical discrepancies to the treating dentist rather than authorizing an assumed correction.
The laboratory cannot identify the intended margin
Return the case to the treating dentist for assessment. More annotation does not supply anatomy absent from the scan, and the laboratory should not be asked to infer an undocumented preparation boundary.
The upload succeeded, but the order is incomplete
Compare the submitted package against the laboratory’s requirements. Check the prescription, attachments, recipient, and final submission status; obtain acknowledgment after correcting the missing element.
The revised case appears alongside the original
Stop further release until the laboratory identifies the active order. Reconcile case identifiers, superseded records, and instructions, then document which version controls fabrication.
Customize your workflow
Standardize the handoff around the laboratory, not merely the scanner. Assign responsibility for case creation, clinical release, transmission, and acknowledgment, even when the same person performs several tasks.
When evaluating ProElite Dental Supply intraoral scanners, request a demonstration using your intended laboratory route. The supplied catalog names Helios scanner models, but a model name alone does not establish export formats, software entitlements, or laboratory-system compatibility.
Use your equipment enquiry to request written, model-specific answers covering:
- Supported computer requirements and software versions.
- Accepted laboratory connections and documented export functions.
- Software access, updates, data retention, and transfer dependencies.
- Tip reprocessing instructions and required accessories.
- Product-specific warranty, technical support, repair handling, and after-sale service terms.
Buy against a demonstrated handoff, not an unverified compatibility statement. A scanner purchase also requires planning for staff training, workstation administration, reprocessing, and interruptions to the submission route. Build those responsibilities into your 2026 implementation plan.
FAQ
What is the correct intraoral scanner to dental lab workflow?
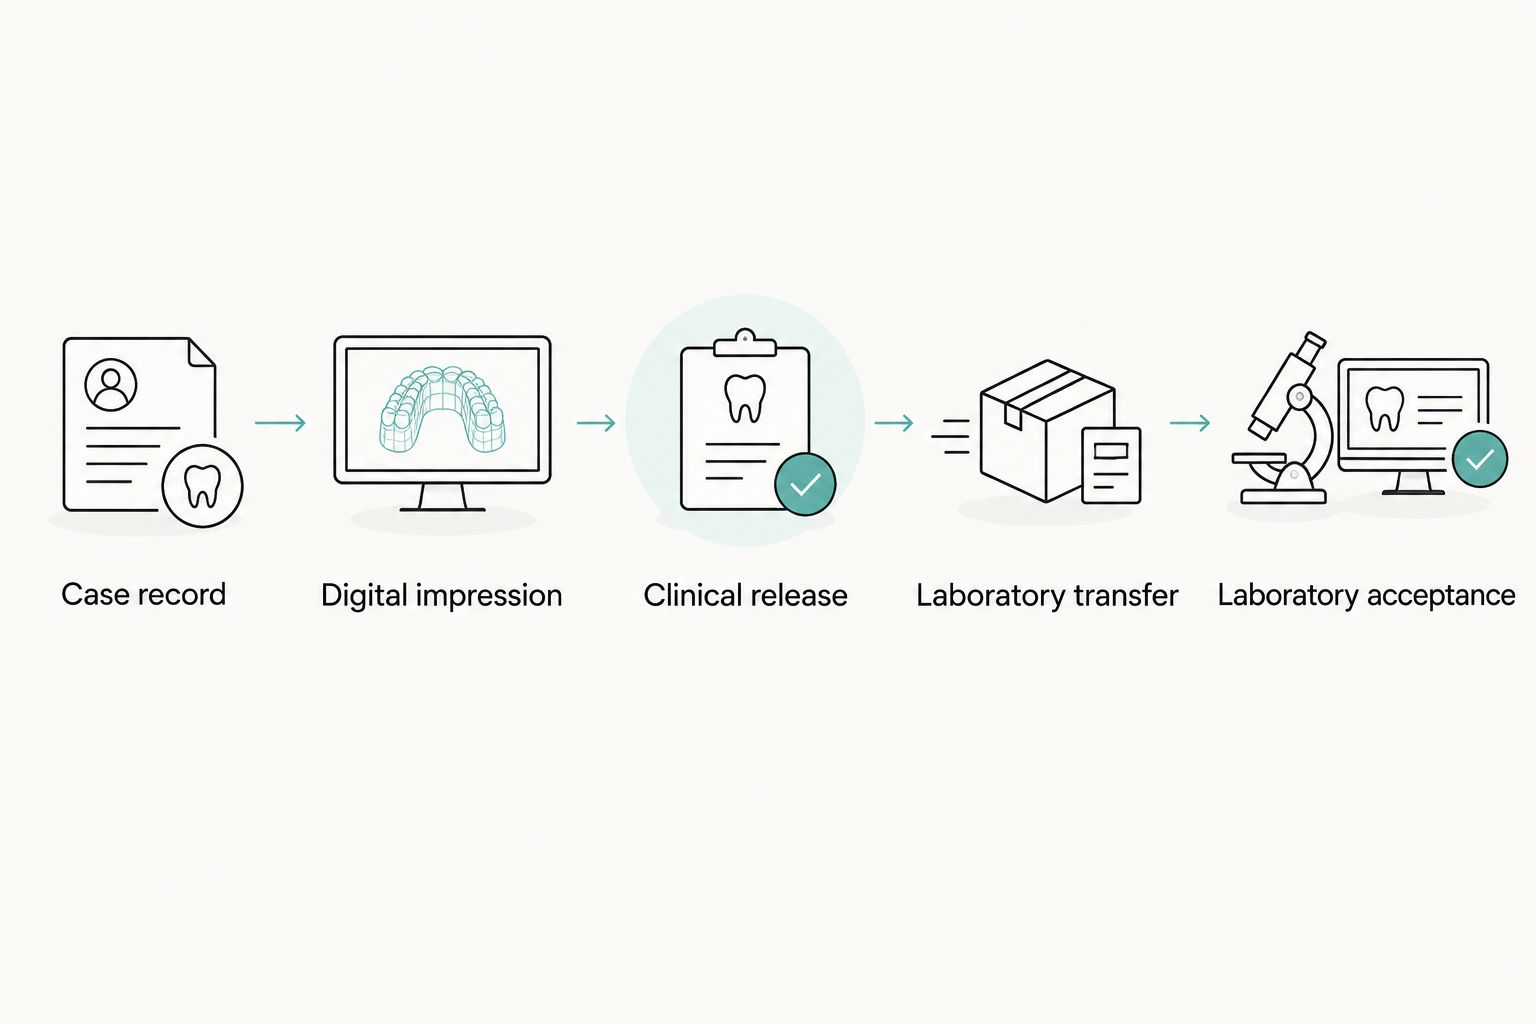
Create the case, review the required digital impressions, authorize the prescription, transfer the package, and confirm laboratory acceptance. Keep the accepted version and any amendments traceable in the practice record.
Can every intraoral scanner send directly to my dental laboratory?
Do not assume a direct connection exists. Confirm support for the exact scanner software and receiving laboratory, then demonstrate the transfer before clinical use.
Which scan files does a laboratory need for a crown?
Obtain the laboratory’s case-specific requirements before scanning. A conventional crown submission commonly includes preparation-arch, opposing-arch, and bite records alongside the prescription and requested supporting information.
Is a successful upload proof that the laboratory can start work?
No. An upload receipt confirms transmission, while laboratory acceptance confirms that the receiving team has the records and instructions it requires.
Can I email digital impression files to the technician?
Use only a practice-approved transfer method appropriate for patient information and accepted by the laboratory. Ordinary attachment delivery does not establish recipient access, case association, or acceptance.
What should I do when the laboratory requests a rescan?
Clarify the missing information with the laboratory and have the treating dentist assess the request. Submit the authorized revision through the documented process and identify which earlier records it replaces.
Does buying an intraoral scanner establish a same-day crown workflow?
No. Scanning does not establish the design, manufacturing, material-processing, or clinical verification steps required to deliver a restoration.
One last thing
Measure completion at laboratory acceptance, not at the send button. Put an unresolved-case queue into your daily handoff process so an uploaded but unaccepted case does not disappear from view. That operational check matters regardless of the scanner you purchase.