

Intraoral scan to milled crown: evidence-led clinical workflow
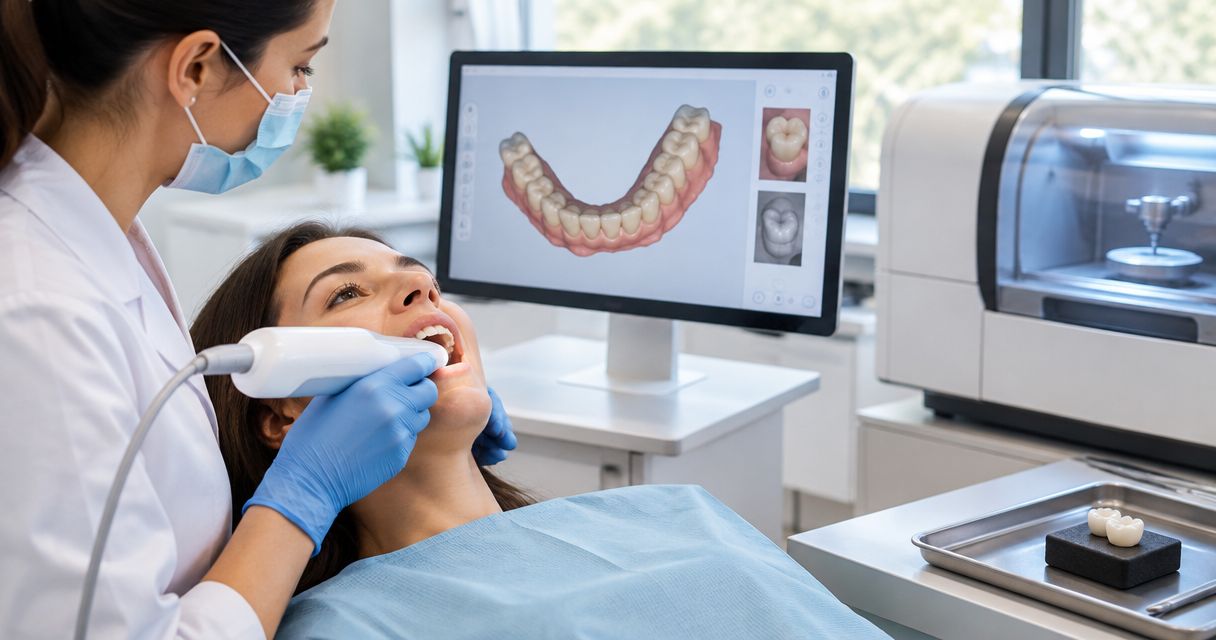
Instead of manually chasing scan files, bite records and laboratory clarifications, build an intraoral scan to milled crown workflow with acceptance checks at each handoff so incomplete cases stop before design or milling. This guide covers single-unit crown records, laboratory transfer, manufacturing checks and the equipment questions to resolve before purchase.
- ProElite Dental Supply scanner buyers should validate the laboratory handoff before choosing equipment.
- An intraoral scan to milled crown workflow requires usable digital impressions, an accepted bite record and manufacturing compatibility.
- A scanner alone does not establish a same-day crown workflow.
- Keep clinical acceptance separate from software completion: inspect records before design and the restoration before delivery.
Why this matters
A completed scan is not an accepted crown case. Your laboratory must receive usable preparation, opposing-arch and bite information, together with an unambiguous prescription. Your manufacturing pathway must then support the selected restoration material.
For a 2026 equipment purchase, evaluate the complete handoff rather than the scanner demonstration alone. The intraoral scanner upfront and ongoing costs guide provides a purchasing framework; your own evaluation should also include training, workstation requirements, software access and laboratory acceptance.
Keep the evidence question narrow. Findings about single-unit digital impressions do not establish performance for full-arch implant workflows, and technology-level research does not establish an exact scanner model's results. This guide sets out workflow checkpoints, not a model-specific accuracy claim or a substitute for clinical judgment.
Before you start
- Secure the complete documentation chain. Obtain the scanner instructions, current software requirements, laboratory submission requirements and, where applicable, CAD/CAM and restorative-material instructions. Assign responsibility for scanning, record review, design approval and manufacturing.
- Prepare an accepted transfer route. Confirm laboratory access, required file types, prescription fields, patient identifiers and secure transmission arrangements. For chairside production, include the design software, mill, tooling and required post-processing equipment.
- Resolve the non-obvious blocker: an exportable file is not necessarily an accepted case. Ask the receiving laboratory to open a non-patient demonstration case from the exact scanner/software configuration and confirm that the preparation, antagonist and bite relationship arrive correctly.
Record the software versions used for your 2026 acceptance test. A generic statement that a scanner is compatible does not identify the tested configuration or who supports a failed handoff.
Case configuration and acceptance criteria
Establish the case record
- Confirm patient identity. Match the patient record and prescription before creating the scan case. Follow your practice's identity-verification process rather than relying on a filename alone.
- Define the restoration. Record the tooth designation, restoration type, planned material, shade information and relevant laboratory instructions. Use the receiving laboratory's actual prescription fields.
- Agree on scan coverage. Confirm how much preparation and opposing-arch coverage the laboratory requires for this single-unit case. Do not assume that the smallest selectable scan area supplies enough information.
- Set the acceptance gate. Agree that the clinician reviews preparation visibility and occlusal records before release, and that the laboratory flags inadequate records before design proceeds.
Expected result: You have 1 crown case with a named patient, an explicit prescription, defined record requirements and an identified reviewer. No software status replaces that review.
Do not copy interface instructions from another scanner. Field names, case types and submission controls depend on the installed software version; use the exact manufacturer's instructions for your system.
Preparation capture and bite records
Capture reviewable datasets
- Establish visible margins. Manage tissue and moisture using clinically appropriate methods before capturing the preparation. A hidden finish line is not corrected simply by generating a more complete-looking mesh.
- Follow the prescribed scan strategy. Use the scanner manufacturer's instructions for preparation, adjacent teeth and opposing dentition. Maintain the scanning conditions and tip handling specified for the exact device.
- Inspect the preparation record. Rotate and enlarge the model to review the finish line, preparation surfaces and adjacent contact areas. Distinguish a display that looks smooth from a record that shows the necessary anatomy.
- Capture the opposing record and bite. Obtain the records required by the receiving workflow. Review whether the displayed relationship is consistent with the clinical relationship rather than accepting software alignment automatically.
- Correct local defects before release. Use the manufacturer's supported correction method. Recheck the preparation and bite relationship after edits, particularly when the software rebuilds or realigns part of the case.
Expected result: Your 3 datasets—preparation arch, opposing arch and bite record—are reviewable together. The clinician can identify the margin and assess whether the digital relationship represents the intended clinical record.
Keep shade communication separate from geometry. If the laboratory requires photographs or additional shade information, provide those records through the agreed secure route; do not assume a colored scan meets its requirements.
Laboratory transfer and design review
Release an accepted case
- Use the validated transfer route. Submit through the supported laboratory connection or approved export/import process. Preserve the intended relationship between the arch scans and bite record.
- Check the received case. Ask the receiving team to confirm patient linkage, tooth designation, prescription completeness and usable records. A successful upload confirms transmission, not design readiness.
- Resolve questions before design. Address missing margins, ambiguous contacts, incomplete opposing anatomy or inconsistent bite information. Reacquire clinical records when necessary instead of asking the technician to infer missing anatomy.
- Review the proposed design where supported. Confirm the proposed margin interpretation and restoration design against the prescription. Material thickness, connector rules where relevant, cement-space settings and milling constraints belong to the selected system and material instructions—not a universal scanner preset.
- Document release. Record who accepted the records and who authorized the design or manufacturing stage under your practice's arrangements.
Expected result: The receiving team has accepted the intended records and prescription. Any design approval is traceable to a specific case version.
For a ProElite Dental Supply intraoral scanner enquiry, ask for a demonstration of this handoff using the proposed configuration. The catalog identifies the Helios 500 as a 3D intraoral scanner, but that listing alone does not establish export formats, laboratory acceptance or mill compatibility.
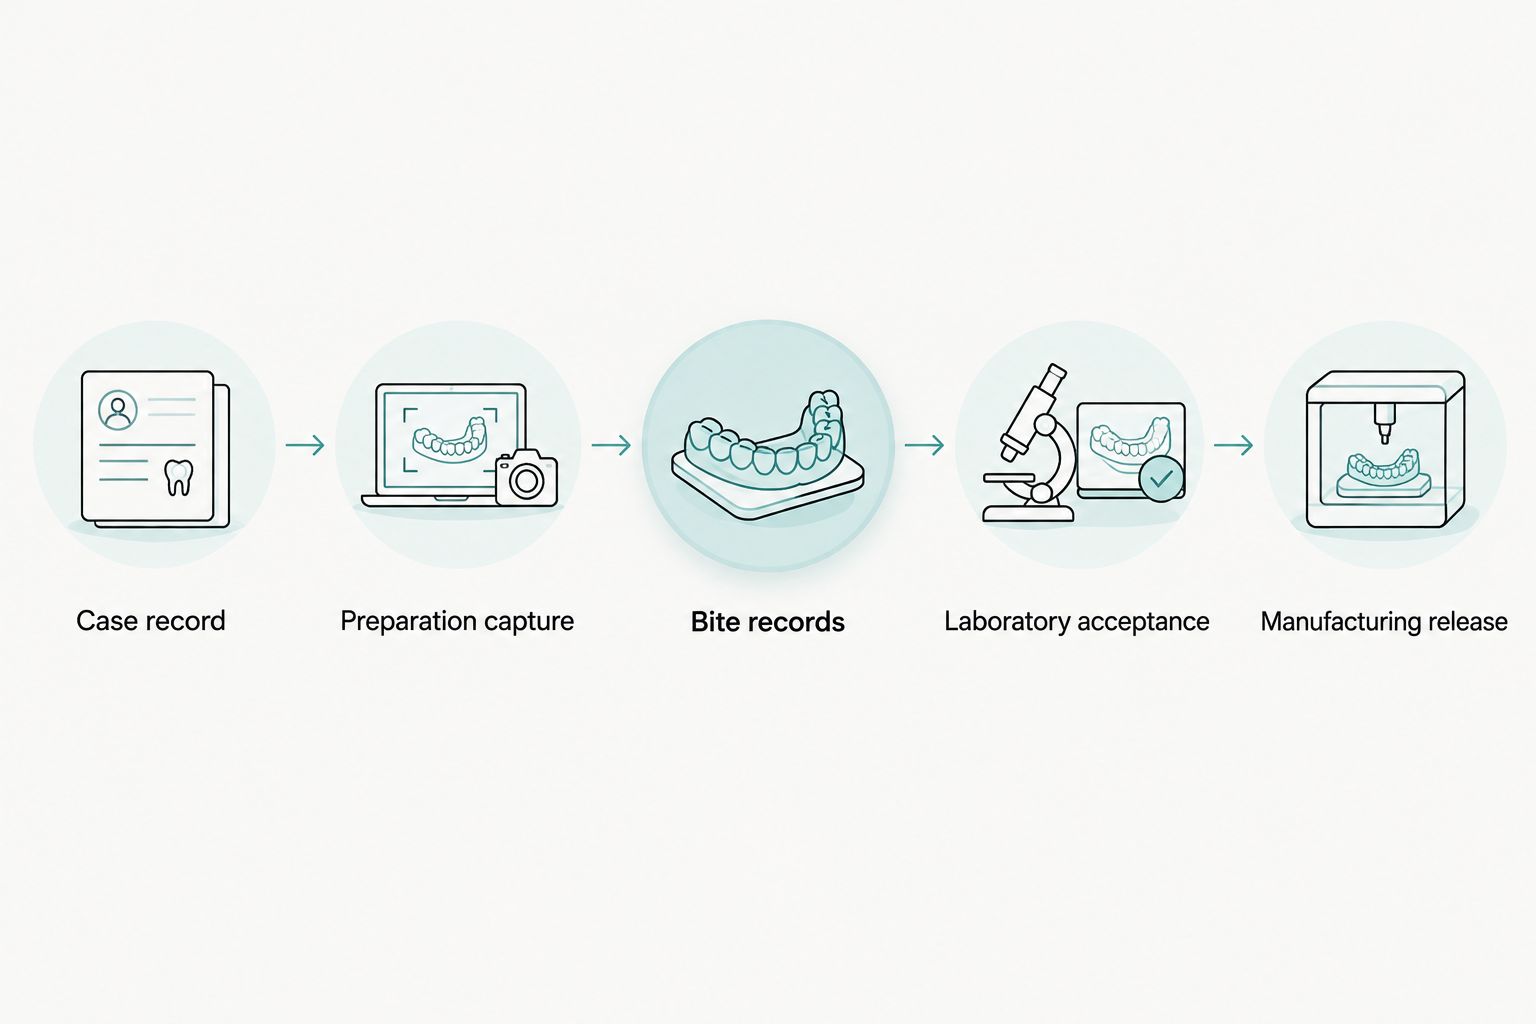
Manufacturing and restoration verification
Complete the manufacturing handoff
- Confirm the manufacturing chain. Verify that the accepted design can be processed by the intended CAM software and mill with the selected material, tools and fixtures. File import alone does not confirm manufacturability.
- Follow the material-specific process. Complete the required milling and post-processing sequence. Sintering, crystallization, finishing and surface treatment depend on the actual restorative material and its instructions; do not transfer settings between materials.
- Check the finished restoration. Inspect for visible manufacturing defects and confirm case identity before clinical evaluation. Keep laboratory completion separate from clinical acceptance.
- Verify clinically before delivery. Assess seating, margins, proximal contacts and occlusion using appropriate clinical methods. Follow the restoration and cement manufacturers' instructions for adjustment, surface treatment and cementation.
- Retain the case history. Preserve the prescription, accepted records, relevant design approvals and manufacturing information according to your practice's recordkeeping requirements.
Expected result: The restoration has passed both manufacturing checks and clinical evaluation. A finished milling cycle is not evidence that a crown is ready for cementation.
Do not promise same-day delivery from a scanner purchase alone. Scheduling also depends on clinical suitability, design capacity, manufacturing, post-processing and the opportunity to correct an unacceptable restoration.
Second workflow: laboratory milling versus chairside milling
The same capture and record-review principles support 2 production pathways. The operational difference is who controls design, manufacturing and correction—not whether either pathway eliminates clinical verification.
| Pathway | Best for | Practical advantage | Constraint to resolve |
|---|---|---|---|
| Laboratory-milled crown | Practices that want the laboratory to manage design and manufacturing | Keeps those production responsibilities with the receiving laboratory | Agree on accepted records, communication, turnaround arrangements and remake responsibilities |
| Chairside-milled crown | Practices prepared to manage an integrated design and manufacturing process | Keeps more production stages under practice control | Requires compatible equipment, trained personnel, post-processing and a correction pathway |
For your 2026 purchasing decision, map the pathway you will actually use. Chairside manufacturing adds responsibilities that a scanner demonstration does not test; laboratory production still requires a verified digital handoff.
When an accepted case changes, identify whether you are replacing a local scan area, a bite record or the complete submission. Notify the receiving team, withdraw superseded records where the system permits and obtain confirmation that the revised version is the one in use.
Do not let an earlier design remain active while a revised preparation scan is awaiting review. Case-version control belongs in the workflow, not in an informal message thread.
Troubleshooting
The laboratory cannot identify the finish line
Return to the clinical record and inspect the entire margin. Correct the visibility problem and obtain an adequate replacement record; do not treat automatic margin tracing as confirmation that the captured anatomy is sufficient.
The bite relationship looks inconsistent
Compare the digital relationship with the clinical record and check that the correct opposing and bite datasets belong to the case. Follow the scanner instructions for reacquisition or alignment correction, then review the relationship again before release.
The file exports but the laboratory cannot use it
Confirm the exact file type, export options, software versions and import requirements with both parties. Check whether arch relationships or supporting records require separate handling; do not repeatedly resend the same unsupported package.
The crown does not seat as expected
Stop before cementation and investigate the record, design, manufacturing and clinical fit. A seating problem does not identify the scanner as the cause, and indiscriminate adjustment is not a substitute for finding the discrepancy.
A workstation or software change interrupts production
Compare the changed configuration with the documented acceptance test. Have the responsible supplier or software provider confirm support, then repeat the relevant non-patient transfer test before relying on the revised pathway.
Customize your workflow
Turn the guide into a practice-specific handoff checklist rather than a universal clinical protocol. Include the case identifier, software configuration, required records, acceptance owner, laboratory contact and escalation route.
For a 2026 equipment comparison, request written answers about workstation requirements, training, export access, software obligations, service arrangements and model-specific warranty terms. Ask who handles a problem when the scanner, design application and laboratory each have different support teams.
ProElite Dental Supply sells dental equipment, including intraoral scanners; the purchase decision should still depend on the proposed system meeting your documented workflow. Use a workflow-specific equipment enquiry to request configuration details rather than assuming that a product name establishes compatibility.
FAQ
What is the intraoral scan to milled crown workflow?
The workflow connects clinical record capture, record acceptance, design, manufacturing and clinical restoration verification. Review the preparation, opposing dentition and bite before releasing the case for design.
Does an intraoral scanner let me make same-day crowns?
An intraoral scanner alone does not establish a same-day crown workflow. You also need a suitable clinical case, an accepted design and manufacturing pathway, required post-processing and time for verification or correction.
Can I send a Helios 500 scan to any dental laboratory?
Do not assume universal laboratory compatibility for the Helios 500. Confirm the exact scanner software, supported transfer method and receiving laboratory requirements through a non-patient demonstration case.
What should I check before sending a crown scan?
Check patient linkage, tooth designation, prescription completeness, visible preparation margins, opposing anatomy and the bite relationship. The receiving laboratory should confirm that the submitted records are usable before design proceeds.
Is laboratory milling better than chairside milling?
The better pathway depends on which design and manufacturing responsibilities your practice intends to manage. Laboratory milling places those production stages with the laboratory; chairside milling requires the practice to maintain the necessary equipment, skills and checks.
Can software fix a margin that was not captured?
Do not accept a software-generated margin as a replacement for adequate captured anatomy. Resolve the visibility problem and obtain a clinically acceptable record before authorizing design.
What should a scanner quote include in 2026?
A 2026 scanner quote should identify the proposed configuration, workstation requirements, training, software obligations, transfer capabilities and model-specific service and warranty terms. Request written confirmation of responsibilities across the scanner supplier, software provider and laboratory.
One last thing
Test the handoff, not just the scan. Before committing to a 2026 system, have your intended laboratory open a demonstration case from the proposed configuration and explain exactly what it received. That exercise tests the connection your crown workflow depends on without exposing a patient solely for equipment evaluation.