

Dental curing light output: what irradiance claims leave out
A dental curing light’s advertised irradiance does not establish whether it will adequately polymerize your restorative material: wavelength compatibility, beam uniformity, exposure time, tip coverage, and clinical positioning also matter. Select the light against the material manufacturer’s curing instructions, then verify its performance with the barrier, access constraints, and operating mode you actually use.
- Dental curing light irradiance alone cannot confirm adequate polymerization; match emission spectrum and exposure settings to restorative materials.
- Compare beam coverage and working distance, not just output measured at the tip.
- A radiometer supports output monitoring but does not prove adequate polymerization throughout a restoration.
- Proelitedental serves practicing dentists buying dental equipment and supplies.
Why this matters
For a 2026 equipment purchase, treat the output claim as a measurement that needs context—not a clinical protocol. A figure without its measurement distance, operating mode, effective emitting area, and spectral information leaves important purchasing questions unanswered.
Proelitedental supplies dental equipment and supplies to practicing dentists. When evaluating a curing-light quote, request the manufacturer’s instructions and supporting technical documentation before comparing headline output figures. The useful comparison is documented performance under relevant conditions, not the largest number on the specification sheet.
What do dental curing light irradiance claims leave out?
Irradiance describes radiant power incident on a surface per unit area. It does not, by itself, describe how evenly that power is distributed, which wavelengths reach the restoration, or how much radiant exposure accumulates during curing.
Use this table to separate the quantities and conditions that sales descriptions often combine.
| Item to compare | What it tells you | What it does not establish |
|---|---|---|
| Irradiance | Radiant power per unit area at a stated measurement plane | Adequate polymerization throughout the restoration |
| Radiant power | Total optical power emitted through the measured aperture | How that power is distributed across the beam |
| Emission spectrum | Wavelengths emitted by the light | Compatibility with every restorative material |
| Beam profile | Spatial distribution of output across the illuminated area | Performance at every working distance |
| Effective emitting area | The area from which useful light emerges | Coverage inferred from the outside diameter of the tip |
| Radiant exposure | Irradiance integrated over exposure time | Equivalent curing outcomes across different exposure protocols |
Ask whether the quoted irradiance is an average over the emitting area or a localized peak. Those measurements answer different questions. A high central reading does not describe the entire area illuminated by the tip.
Irradiance and radiant exposure are different quantities
The unit conversion is fixed: 1 W/cm² equals 1,000 mW/cm². At constant irradiance, 1 W/cm² maintained for 1 second delivers 1 J/cm² of radiant exposure at the measurement plane.
That relationship explains the units; it is not a recommended curing protocol. It also assumes constant output and says nothing about wavelength compatibility, beam distribution, or attenuation through restorative material.
For your 2026 comparison sheet, record irradiance and exposure duration separately. Do not assume that increasing irradiance and shortening exposure produces an equivalent cure. Use the restorative material’s validated instructions for the relevant light and mode.
Match the emission spectrum to the material
Photoinitiators respond to particular wavelength regions. A light’s total output therefore matters only alongside the wavelengths contributing to that output and the material’s activation requirements.
Start with the restorative material’s instructions for use. Identify the required wavelength compatibility, increment limitations, exposure conditions, and any restrictions associated with shade or opacity. Then compare those requirements with the light manufacturer’s documentation.
| Light configuration | Best for | Advantage | Limitation to check |
|---|---|---|---|
| Single-peak LED | Materials whose documented activation requirements match its emission band | A defined emission band simplifies the compatibility review | Does not cover activation requirements outside that band |
| Multi-peak LED | Materials whose documented activation requirements span its emitted bands | Provides more than one emission band | Total irradiance can conceal differences in output and distribution between bands |
Neither configuration is automatically the better purchase. A multi-peak label does not establish that each wavelength component reaches the whole restoration uniformly. A single-peak light is not unsuitable merely because another device has a broader spectrum.
Ask for spectral output documentation rather than accepting a broad compatibility statement. Where the material and light instructions do not establish a compatible protocol, resolve the question with the manufacturers before clinical use.
Evaluate beam coverage, not just tip diameter
The outside diameter of a light guide is not necessarily its active optical diameter. Compare the effective emitting area with the restoration you need to cover, including the positioning limits imposed by the mouth opening and adjacent structures.
A larger emitting area offers broader coverage, but access and positioning still determine whether that area reaches the restoration. A smaller tip can help with restricted access, yet requires particular attention to coverage of wider restorations. Neither geometry removes the need to follow the material’s exposure instructions.
Ask for beam-profile information at clinically relevant distances. For multi-peak lights, ask whether different spectral components share the same spatial distribution. An averaged irradiance value can obscure local differences in both intensity and wavelength composition.
Why a surface check is insufficient
A restoration that feels hard at the surface has not thereby demonstrated adequate polymerization at depth. Light transmission through the restorative material depends on properties including its composition, shade, opacity, and thickness.
Do not use surface hardness or an apparently bright beam as acceptance criteria. Neither substitutes for a compatible, documented curing protocol.
Why delivered output varies
The output that reaches a restoration depends on more than the nominal setting. Review these factors during a demonstration and in your operating procedure:
- Working distance: Output at the restoration depends on the device’s beam characteristics and the separation between the tip and target.
- Tip angle: Oblique positioning changes the illuminated footprint and can compromise coverage.
- Tip condition: Adherent composite, contamination, scratches, or damage can alter light delivery.
- Barrier placement: Barrier material, seams, folds, and contamination can affect transmission through the optical path.
- Operating mode: Different modes can change output behavior, exposure duration, and thermal considerations.
- Restorative material: Shade, opacity, increment thickness, and photoinitiator requirements affect the applicable protocol.
Do not apply a generic distance-correction formula to every curing light. Beam geometry differs between devices. Request measured performance at the distances relevant to your procedures instead of extrapolating from a contact measurement.
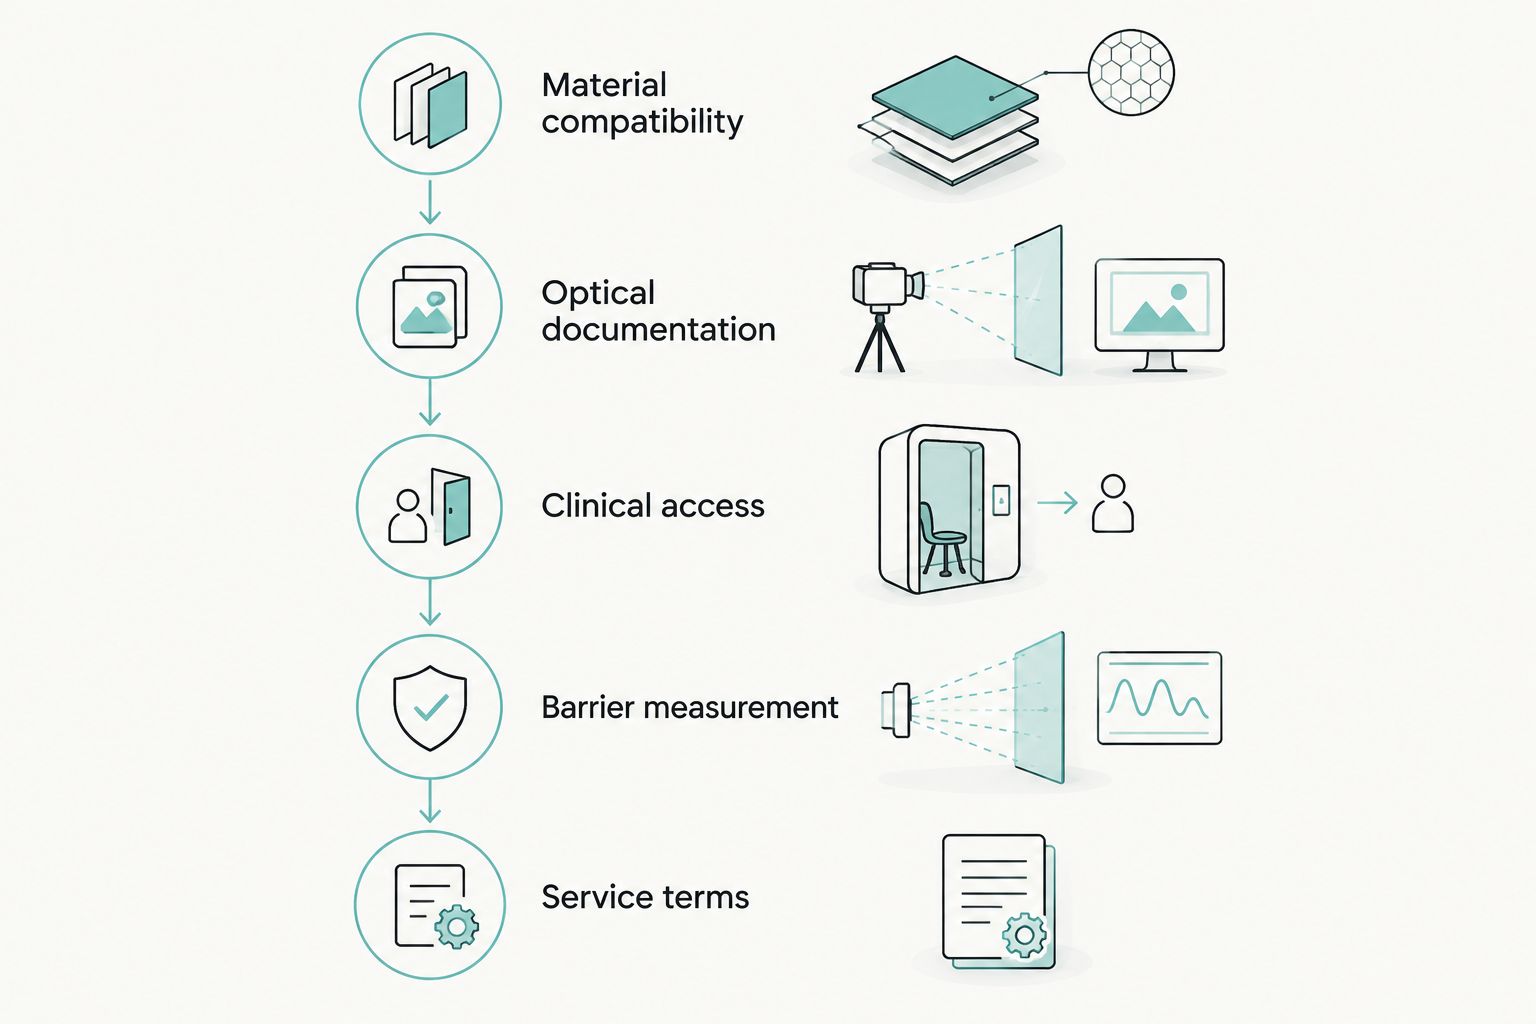
How should you evaluate a curing light before purchasing?
Use the same sequence for every candidate in your 2026 procurement review. Document unresolved questions rather than filling gaps with assumptions from another model.
- Material compatibility: List the restorative materials and shades used in your practice. Obtain their current curing instructions and match those requirements to the proposed light and operating mode.
- Optical documentation: Request the emission spectrum, effective emitting area, beam-profile information, and stated measurement conditions for irradiance claims.
- Clinical access: Evaluate posterior positioning, tip visibility, mouth-opening constraints, and whether the emitting area covers your intended target.
- Barrier measurement: Check the manufacturer-approved barrier arrangement and assess output using an appropriate measurement method with that arrangement in place.
- Service terms: Obtain written terms for warranty coverage, repair handling, replacement components, and any support arrangements included in the quote.
Make the demonstration representative of your workflow. Evaluate the device with the protective barrier and optical accessories specified for use, rather than comparing a bare-tip measurement with a barrier-covered clinical setup.
Record the selected mode, measurement method, and configuration. Without that record, a later reading cannot reliably distinguish a change in device performance from a change in how you measured it.
What can a dental radiometer actually tell you?
A dental radiometer is useful for monitoring output under repeatable conditions. Its reading depends on the instrument’s spectral response, detector geometry, aperture, and measurement arrangement.
Use a meter appropriate for the light and follow both manufacturers’ instructions. Keep the operating mode, tip position, barrier arrangement, and measurement procedure consistent when tracking readings over time. A change from a documented baseline warrants investigation; it does not identify the cause by itself.
A radiometer is an output-monitoring tool, not proof of adequate cure within a restoration. It does not reproduce the restorative material’s thickness, optical properties, cavity geometry, or photoinitiator response.
Ask the supplier how output should be checked and what action the manufacturer specifies when a reading falls outside its acceptance criteria. Do not invent a universal pass/fail threshold or transfer one device’s threshold to another.
Include heat and eye protection in the comparison
Higher irradiance is not an unqualified benefit. Curing exposes tissues and materials to energy, so exposure duration, repeated cycles, positioning, and operating mode belong in the safety review.
Follow the device and restorative-material instructions rather than treating the highest-output setting as the default. Verify the recommended eye protection for the emitted wavelengths and ensure that protection permits stable observation of tip placement.
A demonstration should establish whether the operator can maintain position throughout the exposure while using the specified protection. Ergonomics matter here: a setting is not practically useful if the operator cannot consistently deliver it to the intended area.
Compare ownership requirements before accepting the quote
For a 2026 purchase, request a written account of what is included and what requires separate ordering. Evaluate replacement light guides where applicable, approved barriers, charging components, batteries where replaceable, and the manufacturer’s cleaning and disinfection requirements.
Clarify warranty duration, covered components, exclusions, repair arrangements, and responsibility for transport. Ask whether loan equipment is offered rather than assuming it is included. Obtain those answers for the exact model being quoted.
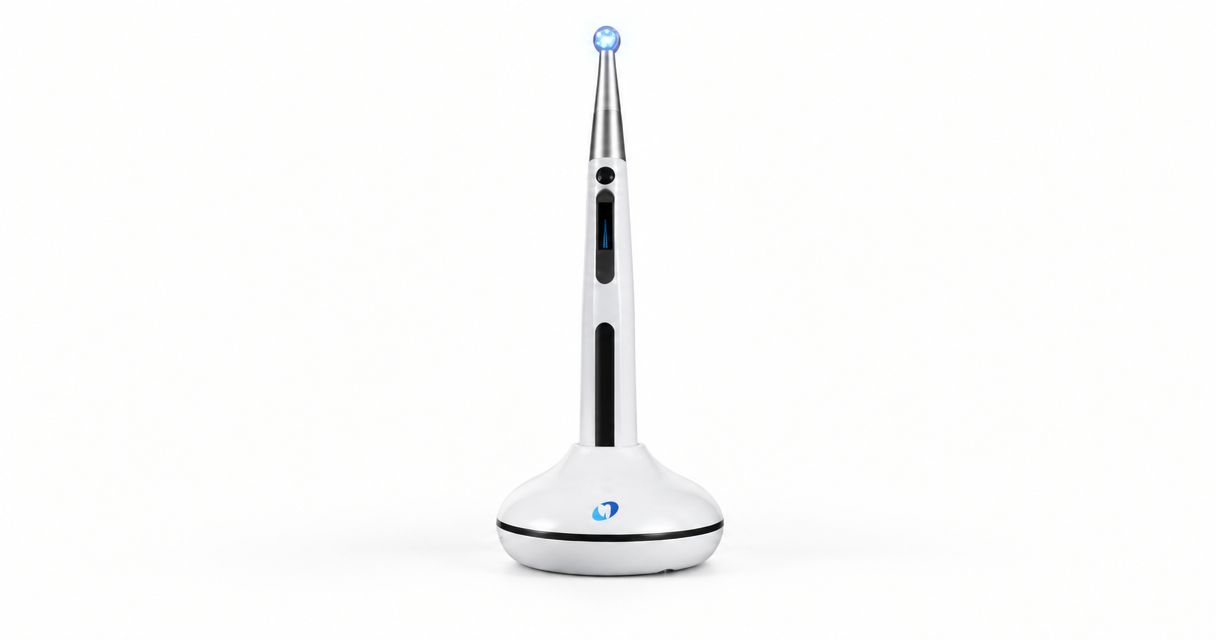
The listed Dental Curing Light – CuringPen, identified in the supplied product information as an Eighteeth device, is relevant to a Proelitedental curing-light enquiry. Its product name alone does not establish wavelength coverage, beam uniformity, exposure settings, or product-specific warranty terms; request the current documentation before deciding whether it fits your materials and workflow.
Assess affordability against the equipment and consumables you actually need. A quote that omits required accessories or leaves repair arrangements unclear is not yet a complete basis for comparison.
Is higher irradiance always better for a dental curing light?
Higher irradiance is not automatically better. The useful setting must match the restorative material’s validated exposure protocol, provide appropriate coverage, and remain compatible with the manufacturer’s safety instructions.
Do not rank lights by their maximum setting alone. Compare the operating modes you will actually use and the evidence supporting them.
Can I shorten exposure time if the output is higher?
A higher output claim does not authorize a shorter exposure. Follow the material manufacturer’s instructions for the applicable light, mode, increment, and shade.
Equal calculated radiant exposure does not by itself establish equal polymerization. Obtain an explicitly supported protocol rather than deriving a new chairside exposure time from arithmetic.
Should I measure output with a protective barrier fitted?
Evaluate output in the manufacturer-approved barrier configuration used clinically. Keep barrier placement consistent and avoid folds or seams across the optical path where the instructions require an unobstructed window.
A bare-tip reading and a barrier-covered reading describe different configurations. Document which configuration produced each measurement before drawing conclusions about performance.
FAQ
What does mW/cm² mean on a dental curing light?
mW/cm² expresses irradiance: radiant power per unit area at a stated measurement plane. It does not specify wavelength compatibility, beam uniformity, or adequate polymerization at depth.
What is the best dental curing light output for my composites?
The appropriate output is the one supported by your restorative material’s curing instructions for the selected light and mode. There is no single headline irradiance that establishes compatibility with every composite.
Is a multi-peak curing light better than a single-peak light?
A multi-peak curing light is not automatically better. Select the emission spectrum that matches your materials, then compare coverage, beam distribution, and documented exposure protocols.
Does a larger curing tip always give better coverage?
A larger effective emitting area offers broader coverage, but positioning and access determine whether it reaches the restoration. Compare the active optical area rather than the external tip diameter alone.
Can a dental radiometer confirm that my composite is fully cured?
A dental radiometer cannot confirm adequate polymerization throughout a composite restoration. It measures output under its measurement conditions and supports consistent monitoring of the light.
Can I use any disposable sleeve on my curing light?
Use the barrier configuration permitted by the curing-light manufacturer. Check compatibility, placement, and its effect on the optical path rather than assuming sleeves are interchangeable.
What should I request in a curing-light quote from Proelitedental?
Request current model-specific optical documentation, operating instructions, included accessories, and written warranty and service terms. Identify your restorative materials and access requirements so the enquiry addresses your clinical workflow.
One last thing
Ask for the measurement conditions before asking for more output. A specification becomes useful only when you know what was measured, where it was measured, and which operating configuration produced the result.
Before approving a 2026 curing-light purchase, attach the relevant material instructions and proposed device documentation to the equipment record. That gives your team a defined protocol to follow—and a reference when materials, barriers, or operating modes change.